Please ensure that you have a HubSpot account to use this theme. If not, you can visit this link to create a HubSpot account.
Create a HubSpot accountYou can either install your theme from HubSpot Asset Marketplace or a .zip file.
If you're installing the theme from HubSpot Asset Marketplace, just click the Install for free button on theme page and then follow the instructions.
If you have a .zip file of your HubSpot CMS theme, please follow the steps below to install it onto your account:
If you completed the steps successfully, you should see the pizzami theme and its templates when you're creating a new page.
To learn more about theme installation, please visit HubSpot Reference Docs.
Here you can find the answers to frequently asked questions by our customers.
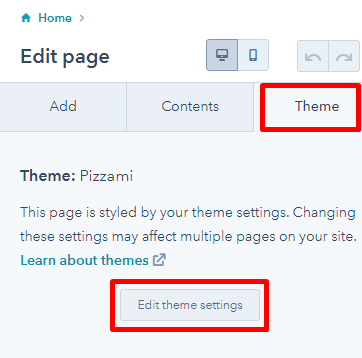
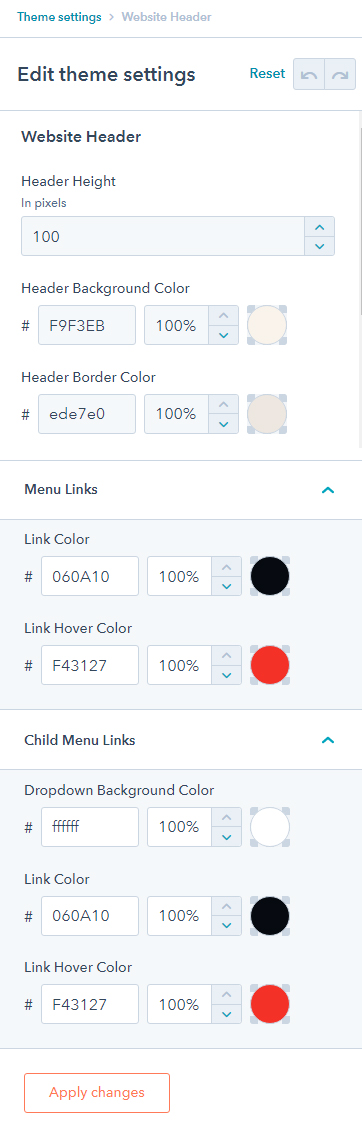
Navigate to Marketing > Website > Website Pages and choose a page to edit. On Edit page screen, switch to Theme tab and then click Edit theme settings button.
Pizzami has 8 ready-to-use page templates for you, as well as the default HubSpot system templates such as Search Results, Password Required Page, Subscription Page etc.
This template has been designed to be used on the homepage of your website. It contains the following sections and modules in order:
File location: /templates/home.html
When you need to provide some information about you and your team, you can use this template. It contains the following sections and modules in order:
File location: /templates/about.html
You can provide information about what you do, your services and clients, customer reviews and pricing with this template. It contains the following sections and modules in order:
File location: /templates/menu.html
You can provide information about what you do, your services and clients, customer reviews and pricing with this template. It contains the following sections and modules in order:
File location: /templates/reservation.html
You can use this template to create your contact page. It contains the following sections in order:
File location: /templates/contact.html
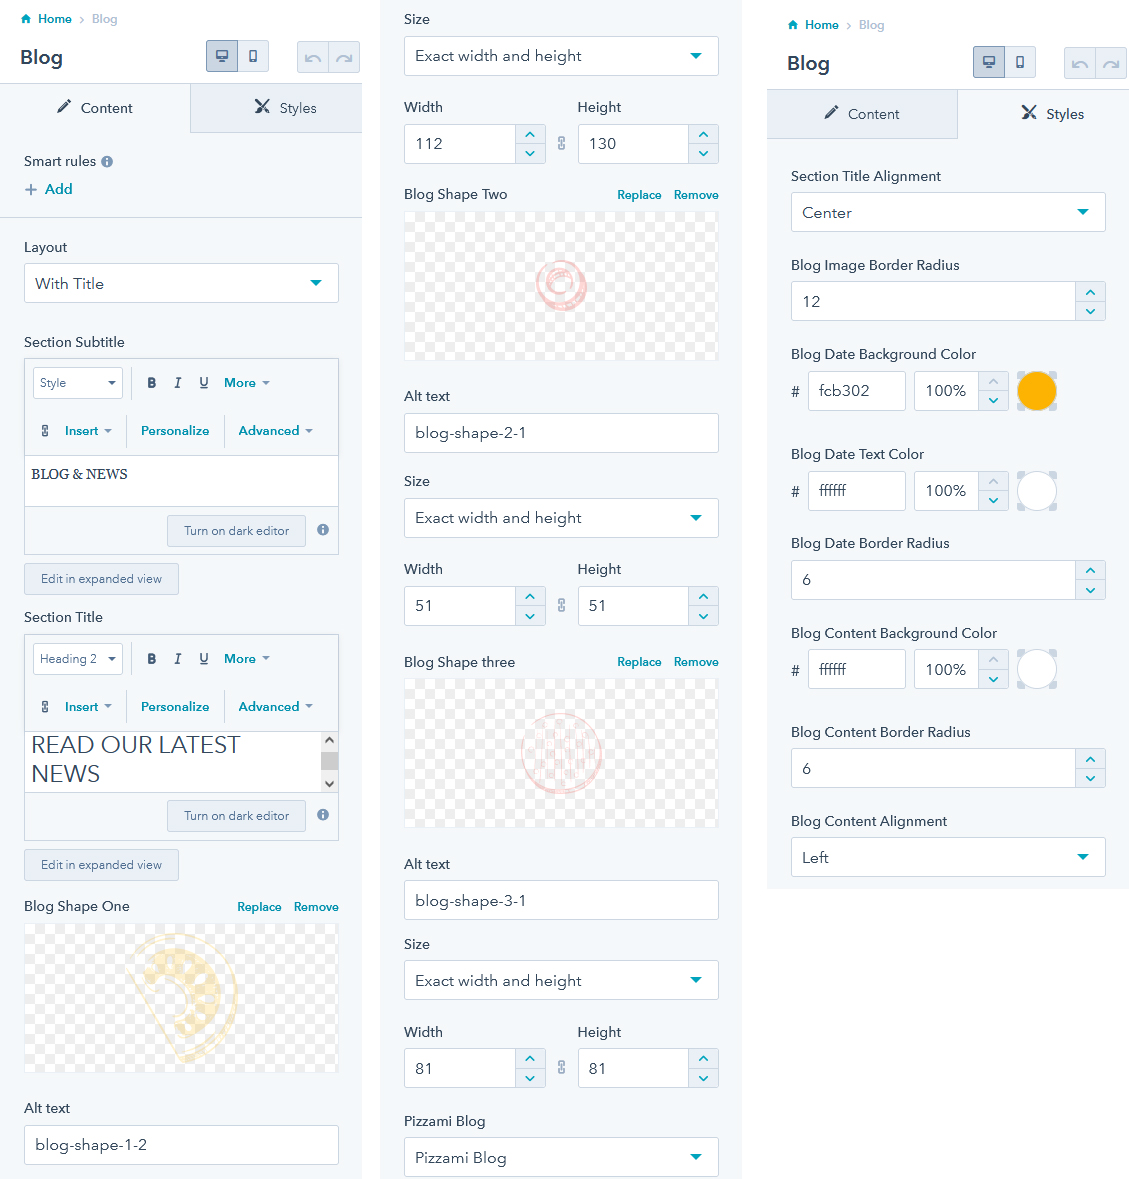
This is the template for your blog. It contains the following module:
File location: /templates/blog-index.html
For now, HubSpot does not allow to use drag & drop features in blog post templates. So, sections and modules are embedded into the template and you can't access them via the page editor.
File location: /templates/blog-post.html
This is a general landing page template to collect some information about your visitors via a form and reply a couple of frequently asked questions. It contains the following sections in order:
File location: /templates/landing-page.html
Pizzami has 12 ready-to-use sections.
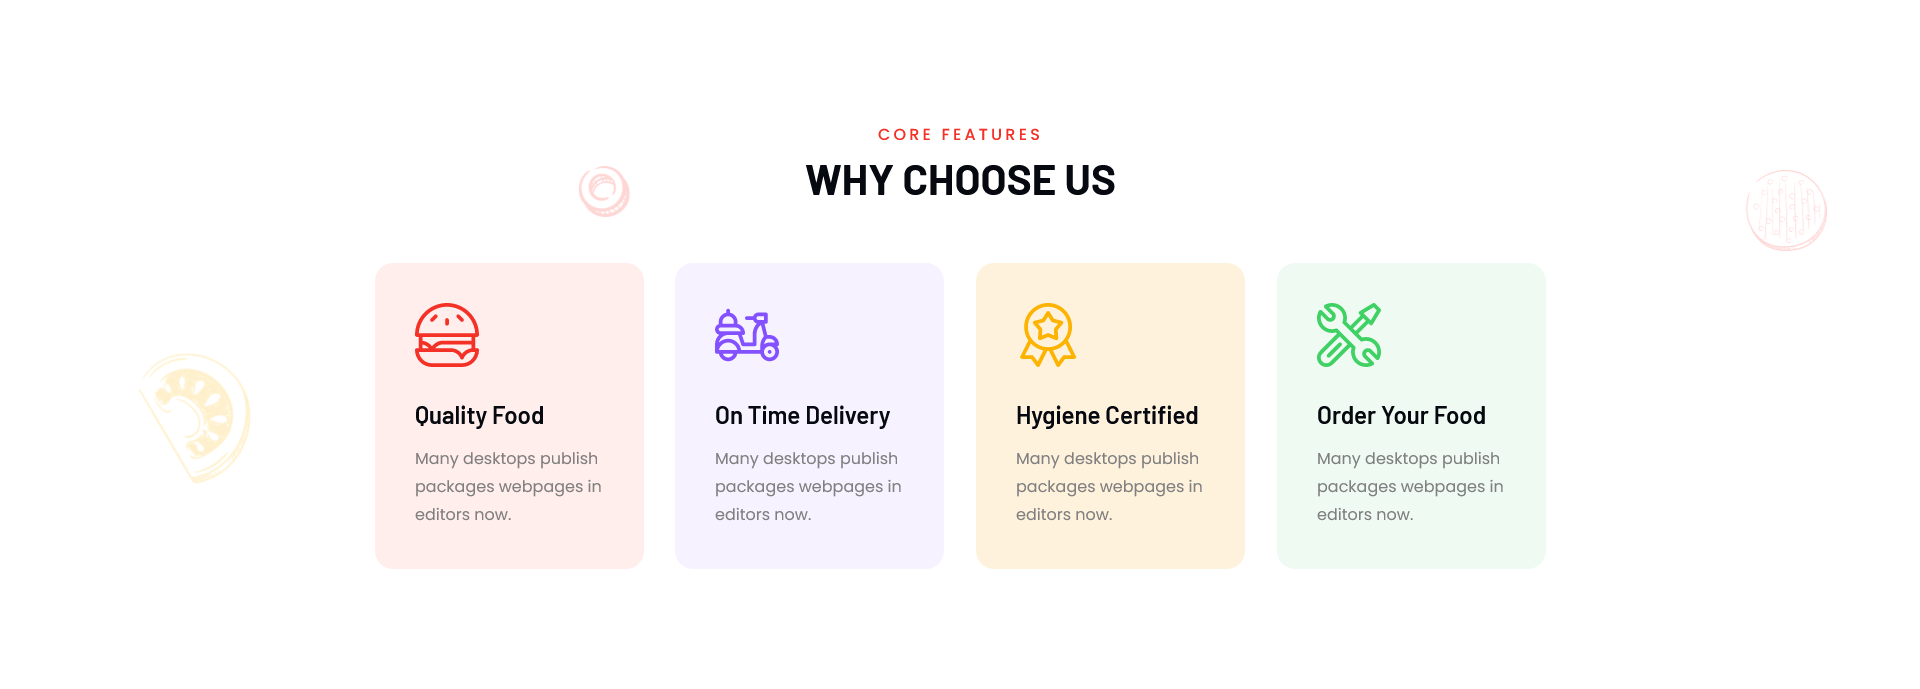
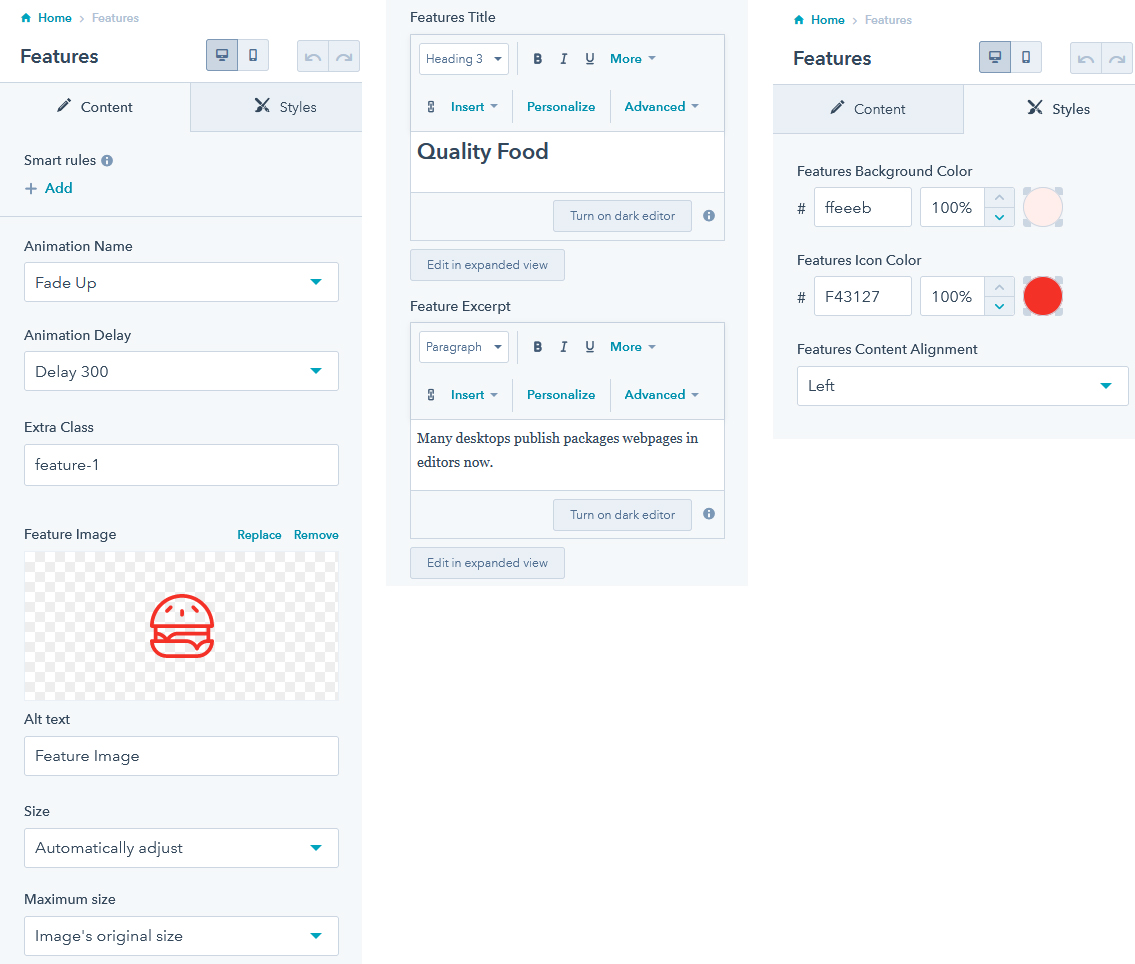
The feature section is separated into four columns. All column has an Image icon, heading, and excerpt.
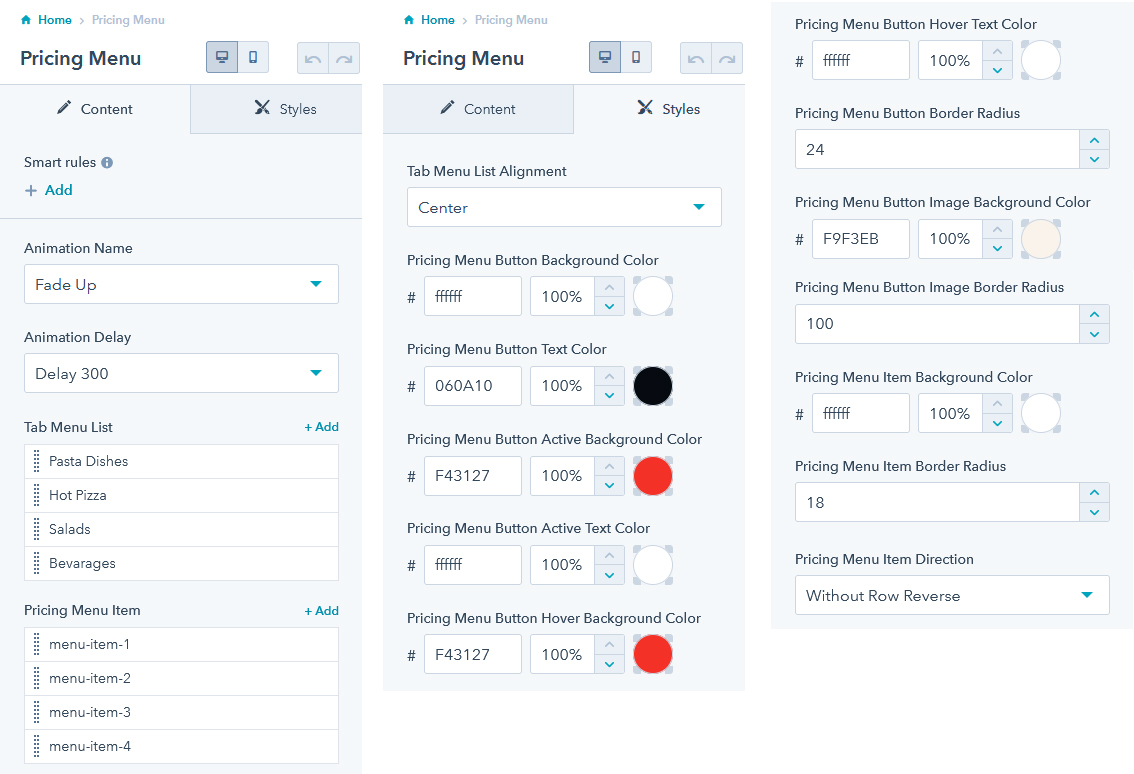
The pricing Menu section is separated into two rows and one column. The first column has a section heading and the Second column has a product filtering menu and product image, title, excerpt, and price.

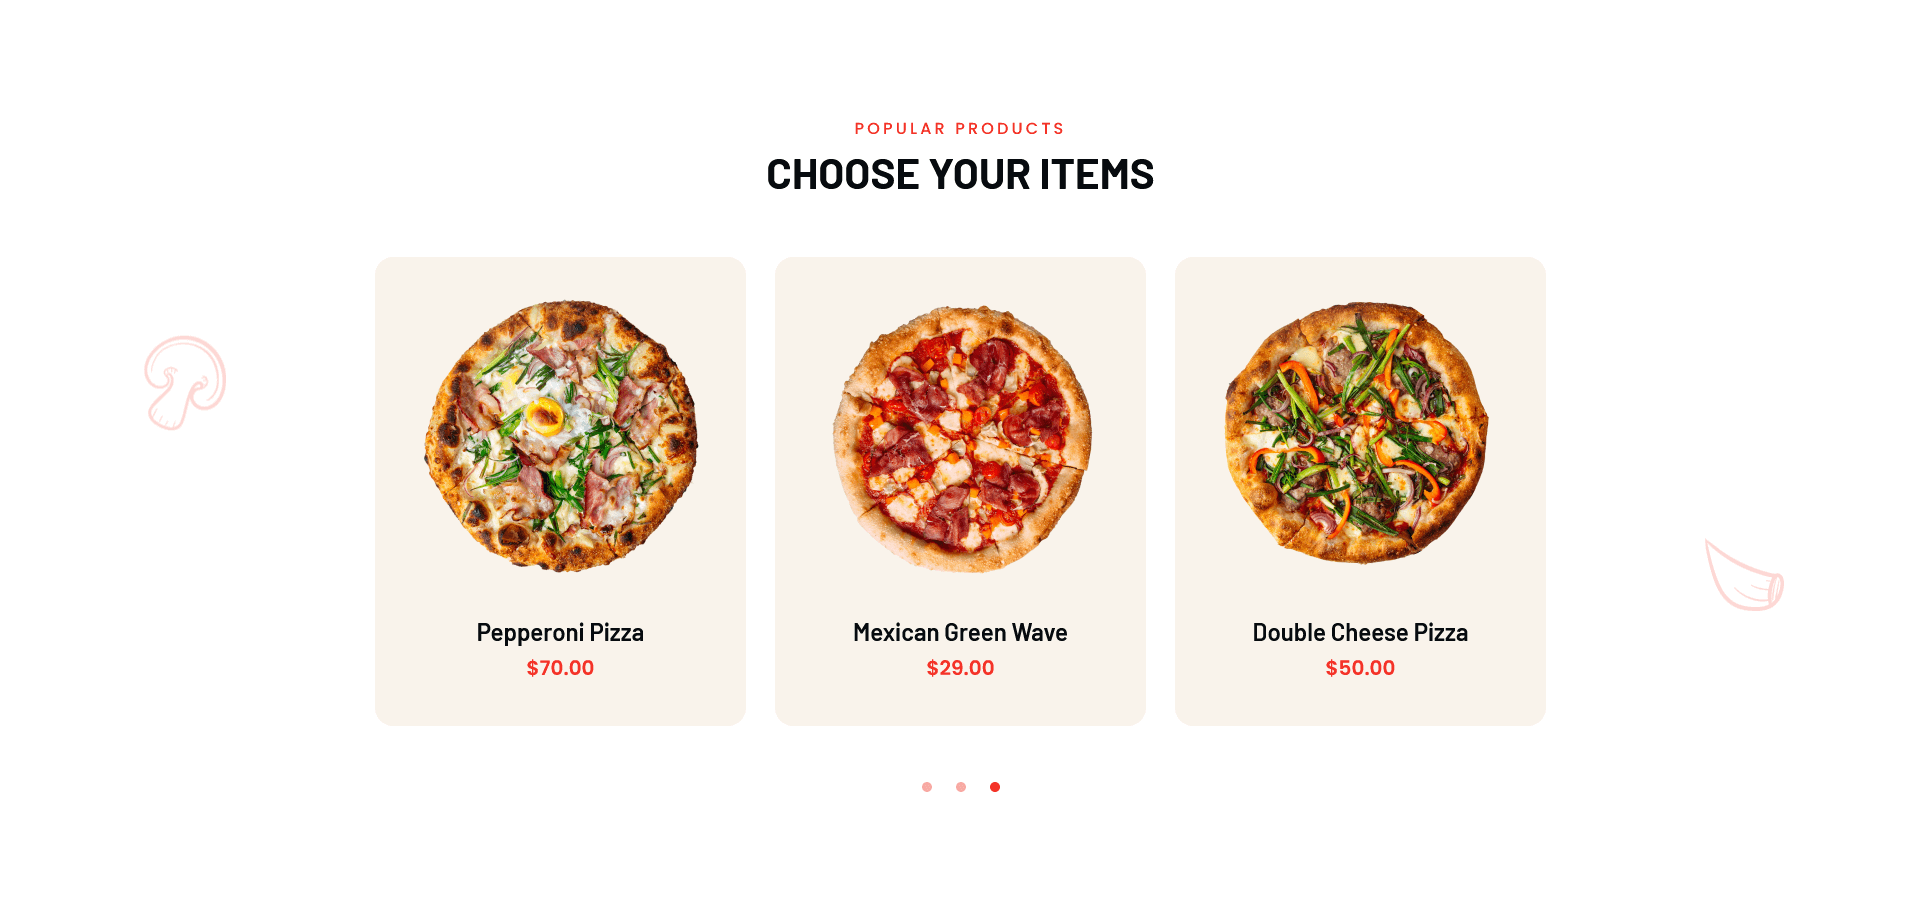
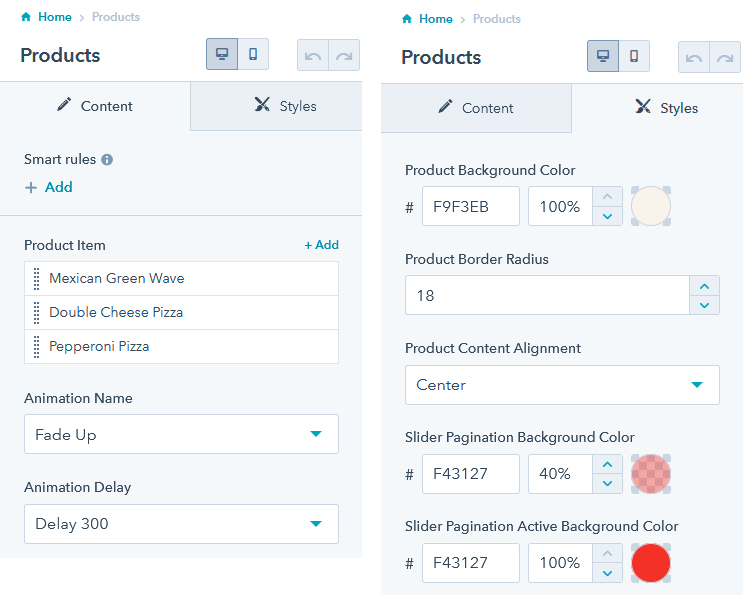
The products section is separated into three columns with sliders. All column has an Image, title, and price.
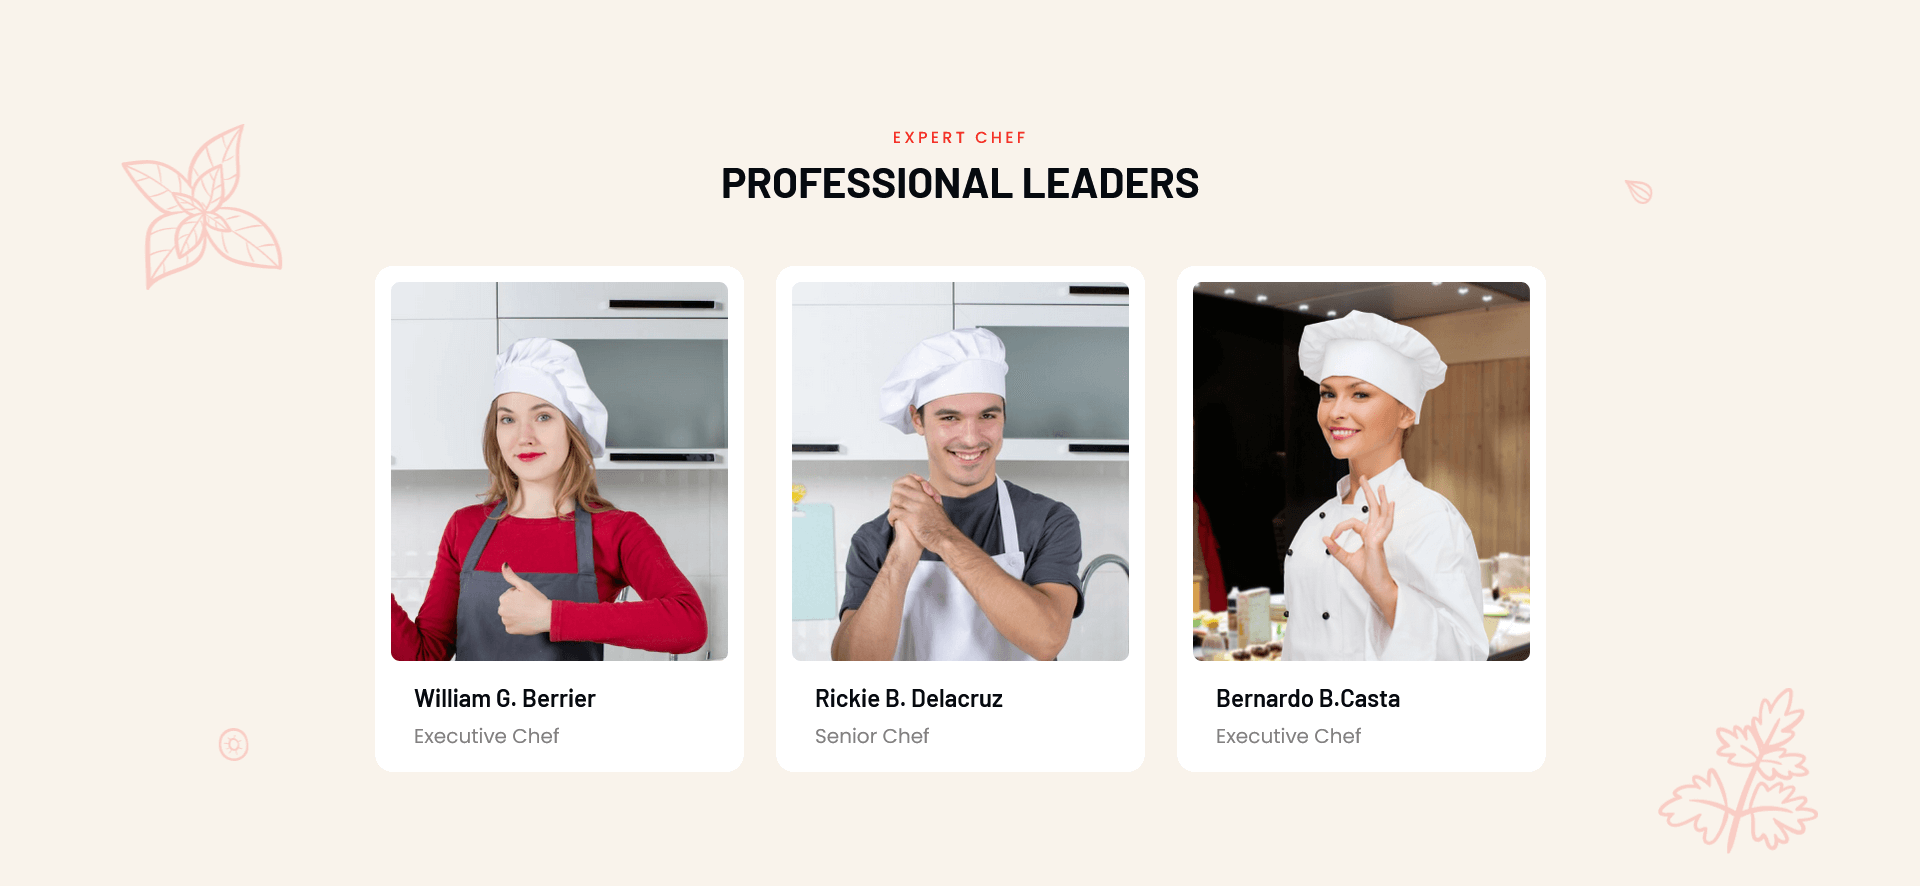
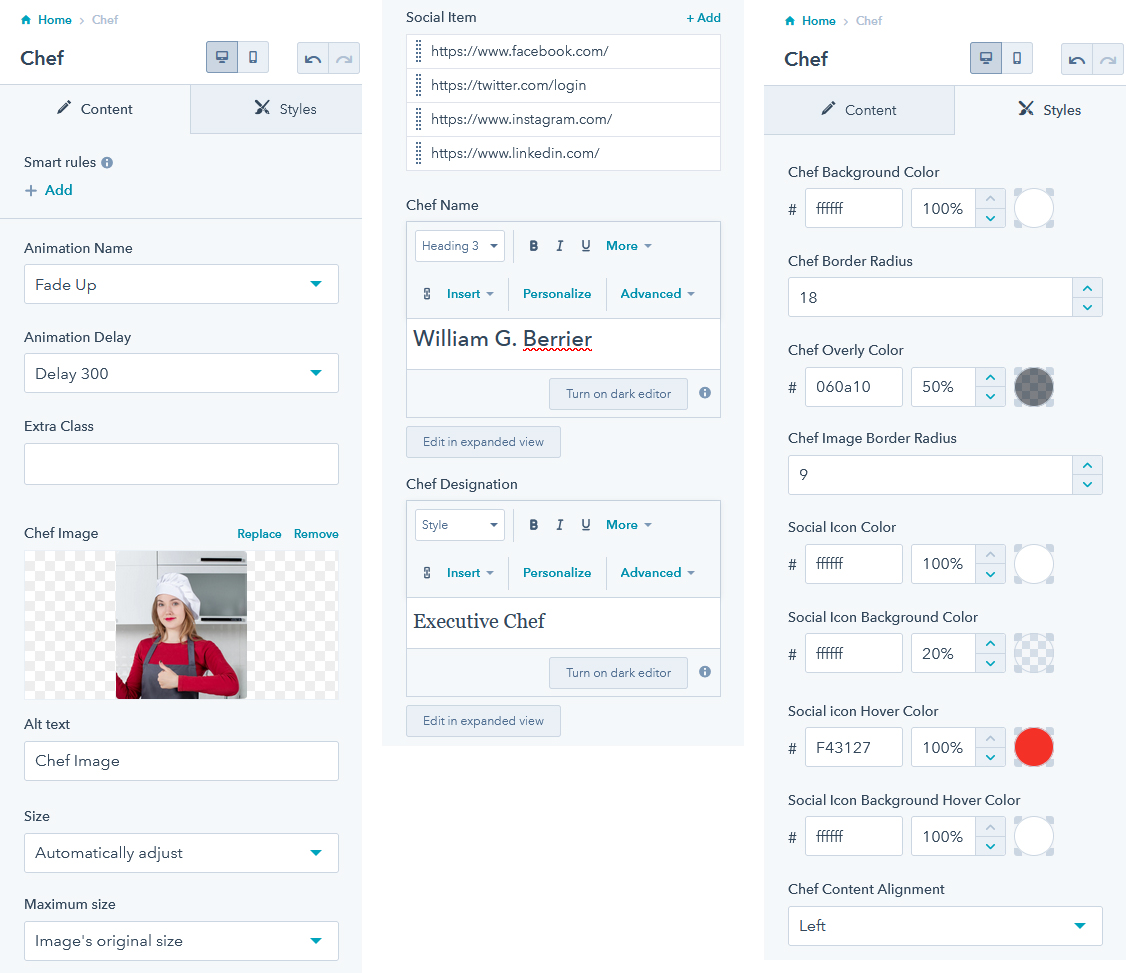
The Chef section is separated into three columns. All column has an image, social icon, name, and designation.
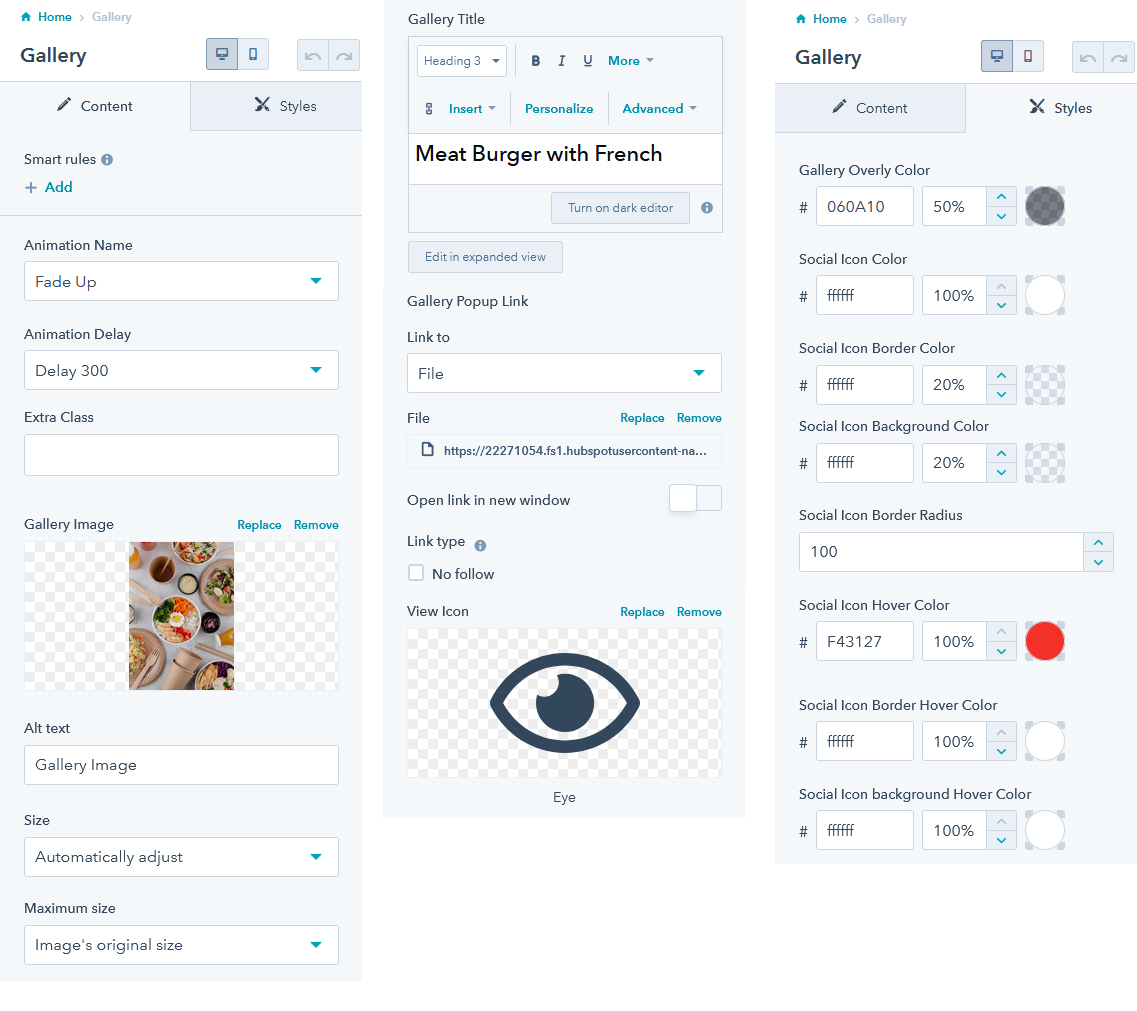
The Gallery section is separated into two rows and all rows are separated into three columns. All column has an Image, zoom icon, and title.

The brand section is separated into five columns with a slider section. All column has an image.
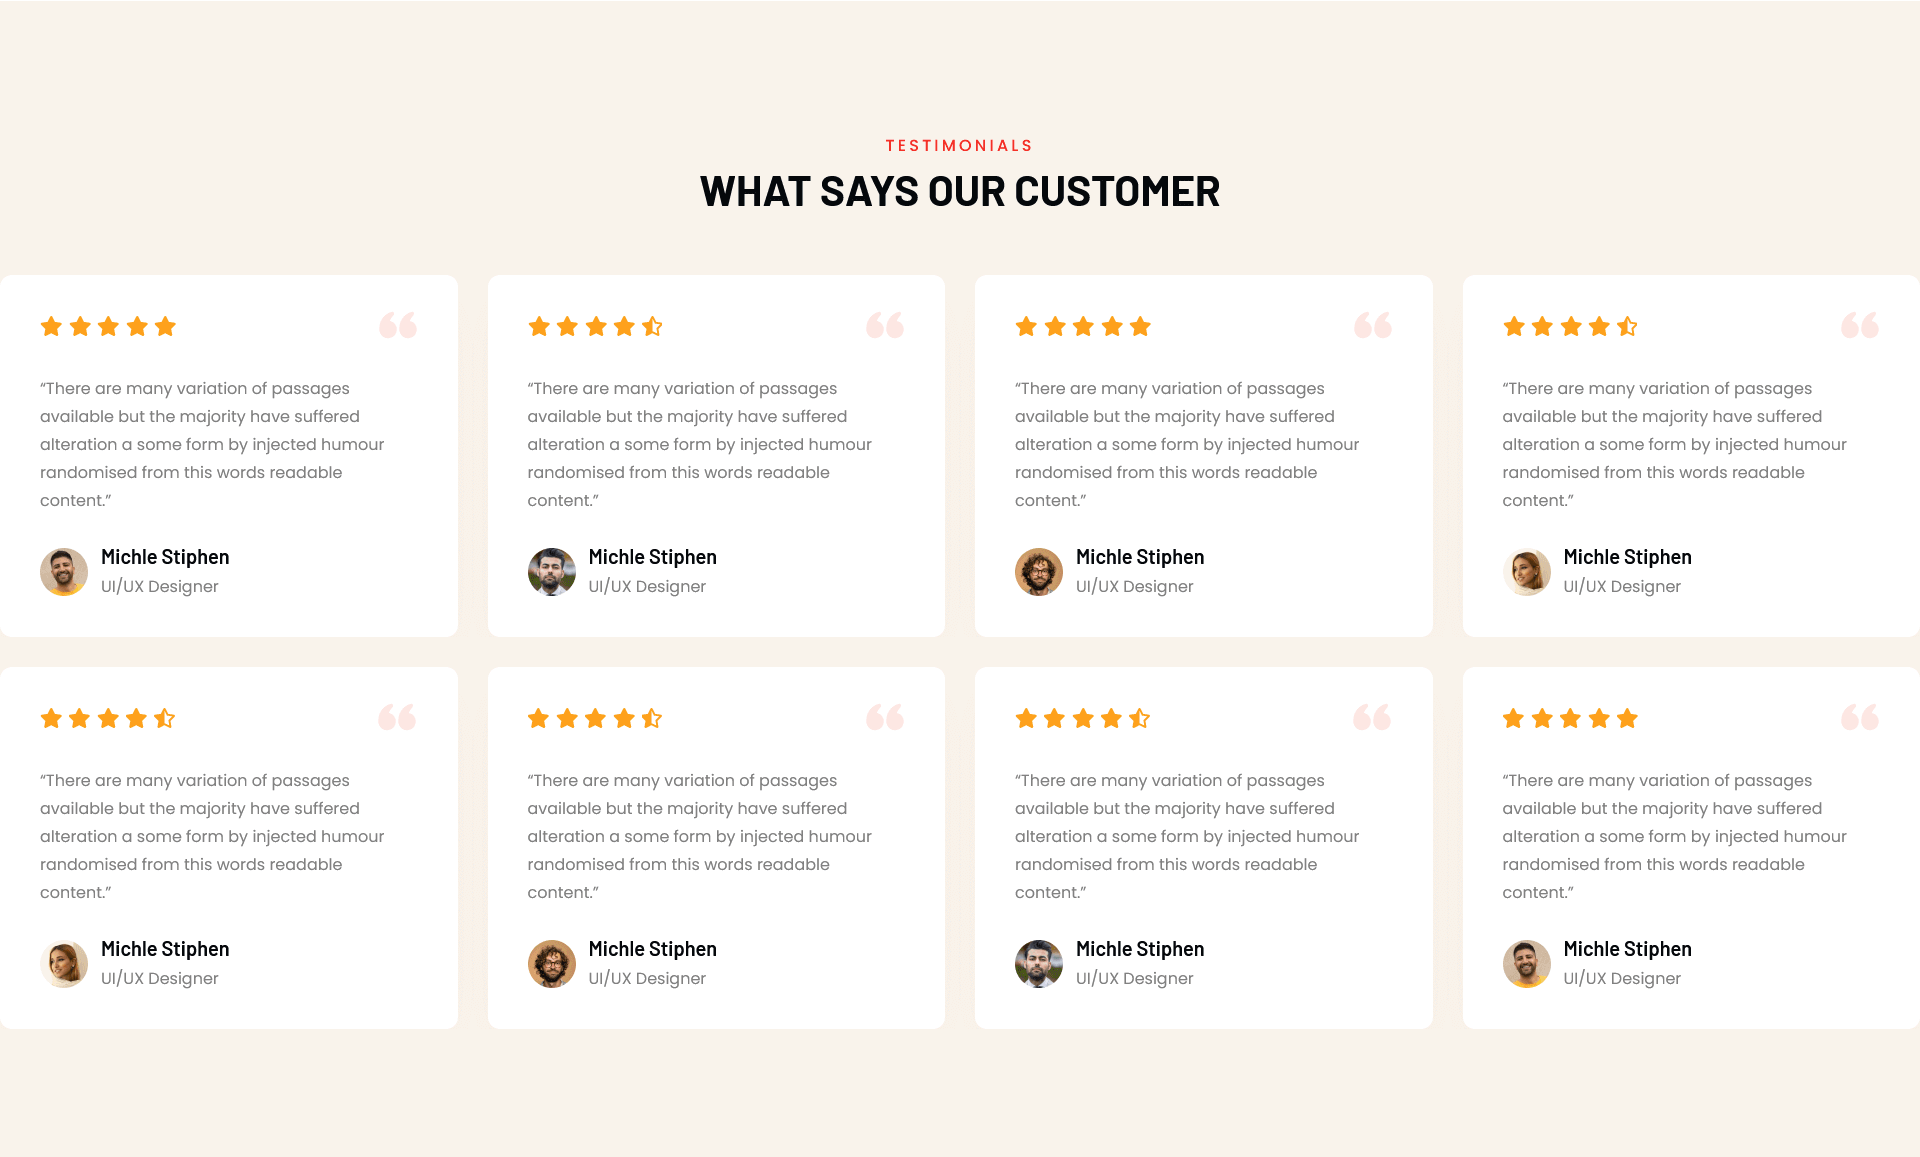
The testimonial section is separated into two rows and three columns with a slider. All column has a rating icon, quote icon, excerpt, image, name, and designation.
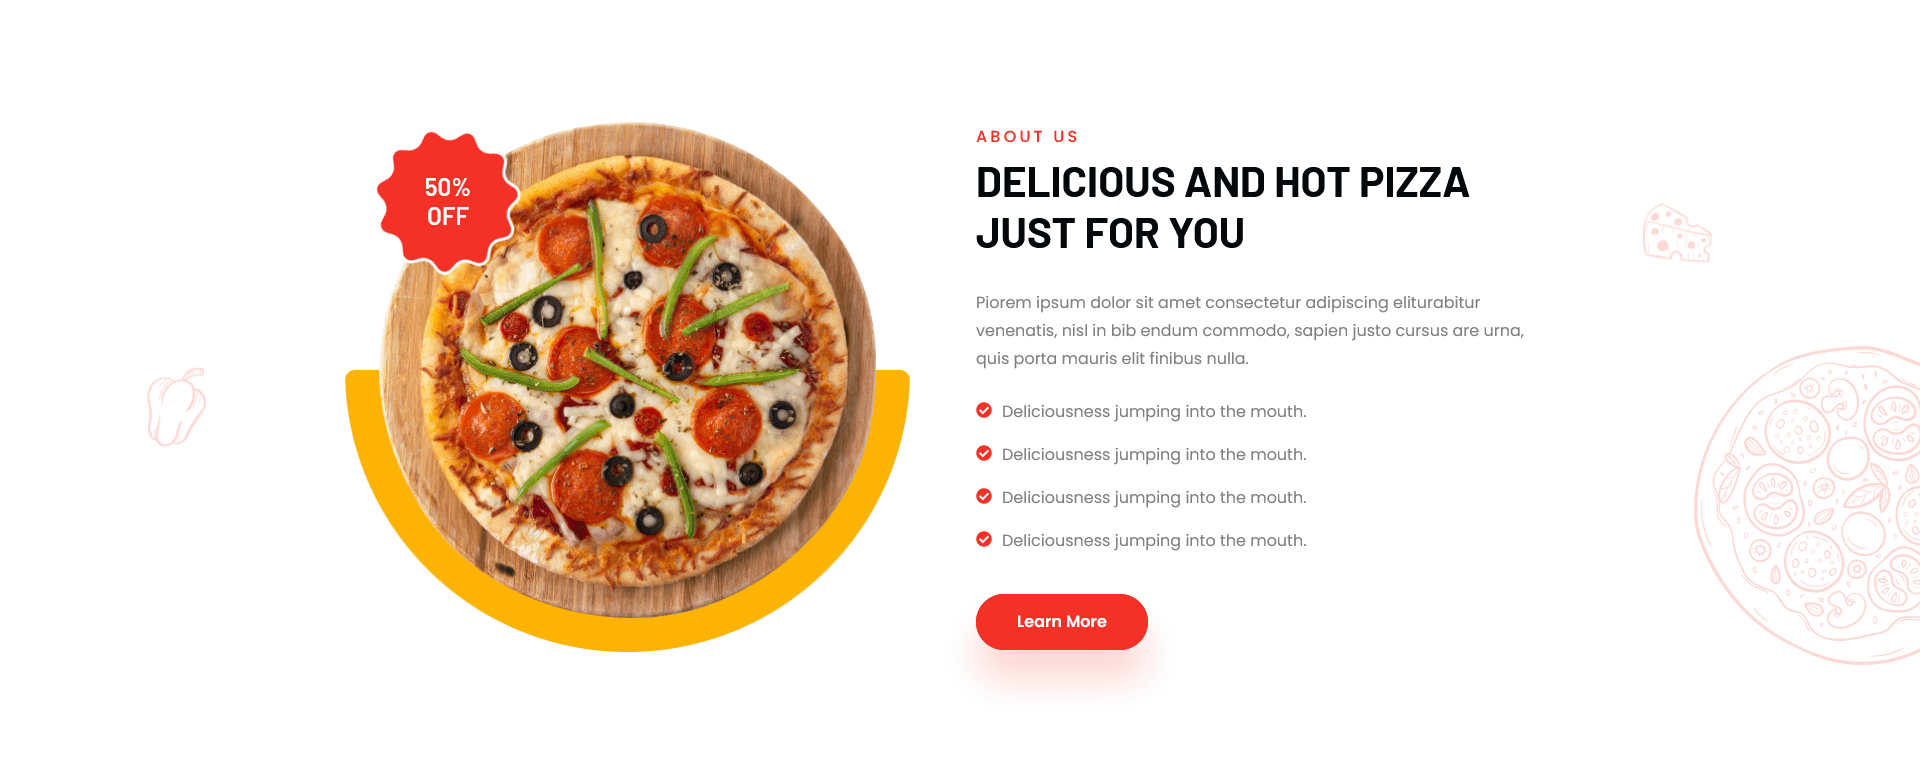
The about section is separated into two columns. The left column has an Image and the Right column has a section title & other Info.
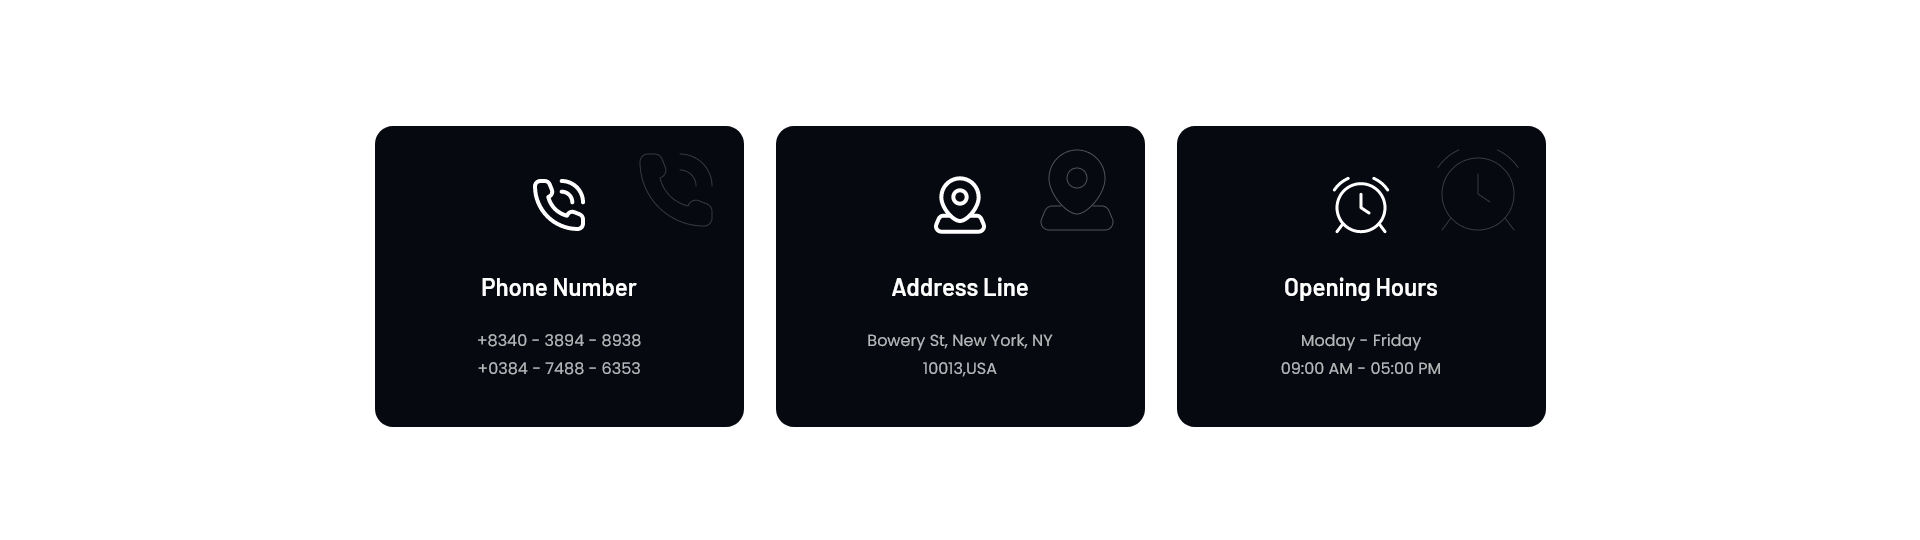
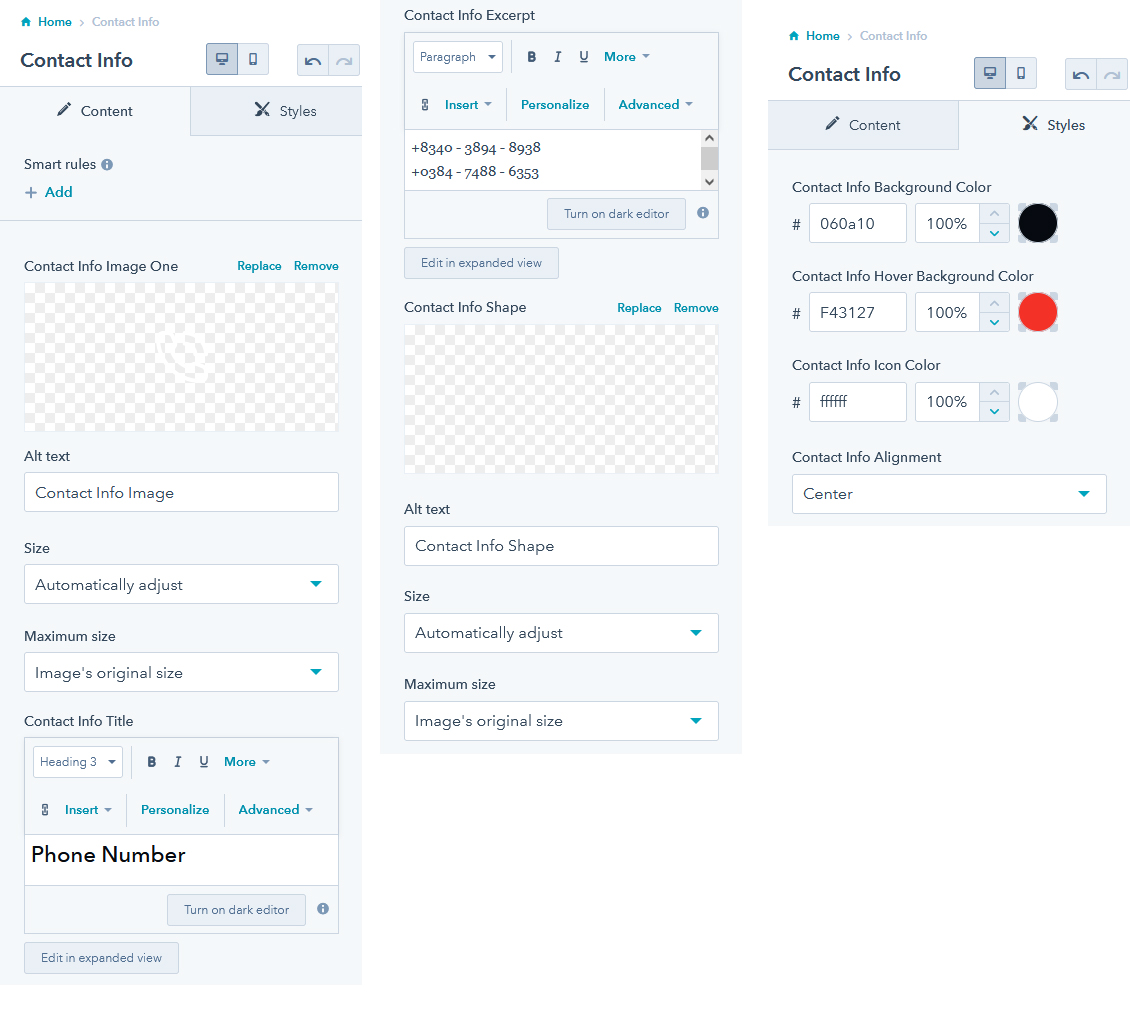
The contact Info section is separated into three columns. All column has an icon, title, and Info.
The Newsletter section is separated into two rows and one column. The first row has a section title and the second row has a newsletter form.

The Video section is separated into two columns. The left column has a section title & other Info and the Right column has a Popup Video.

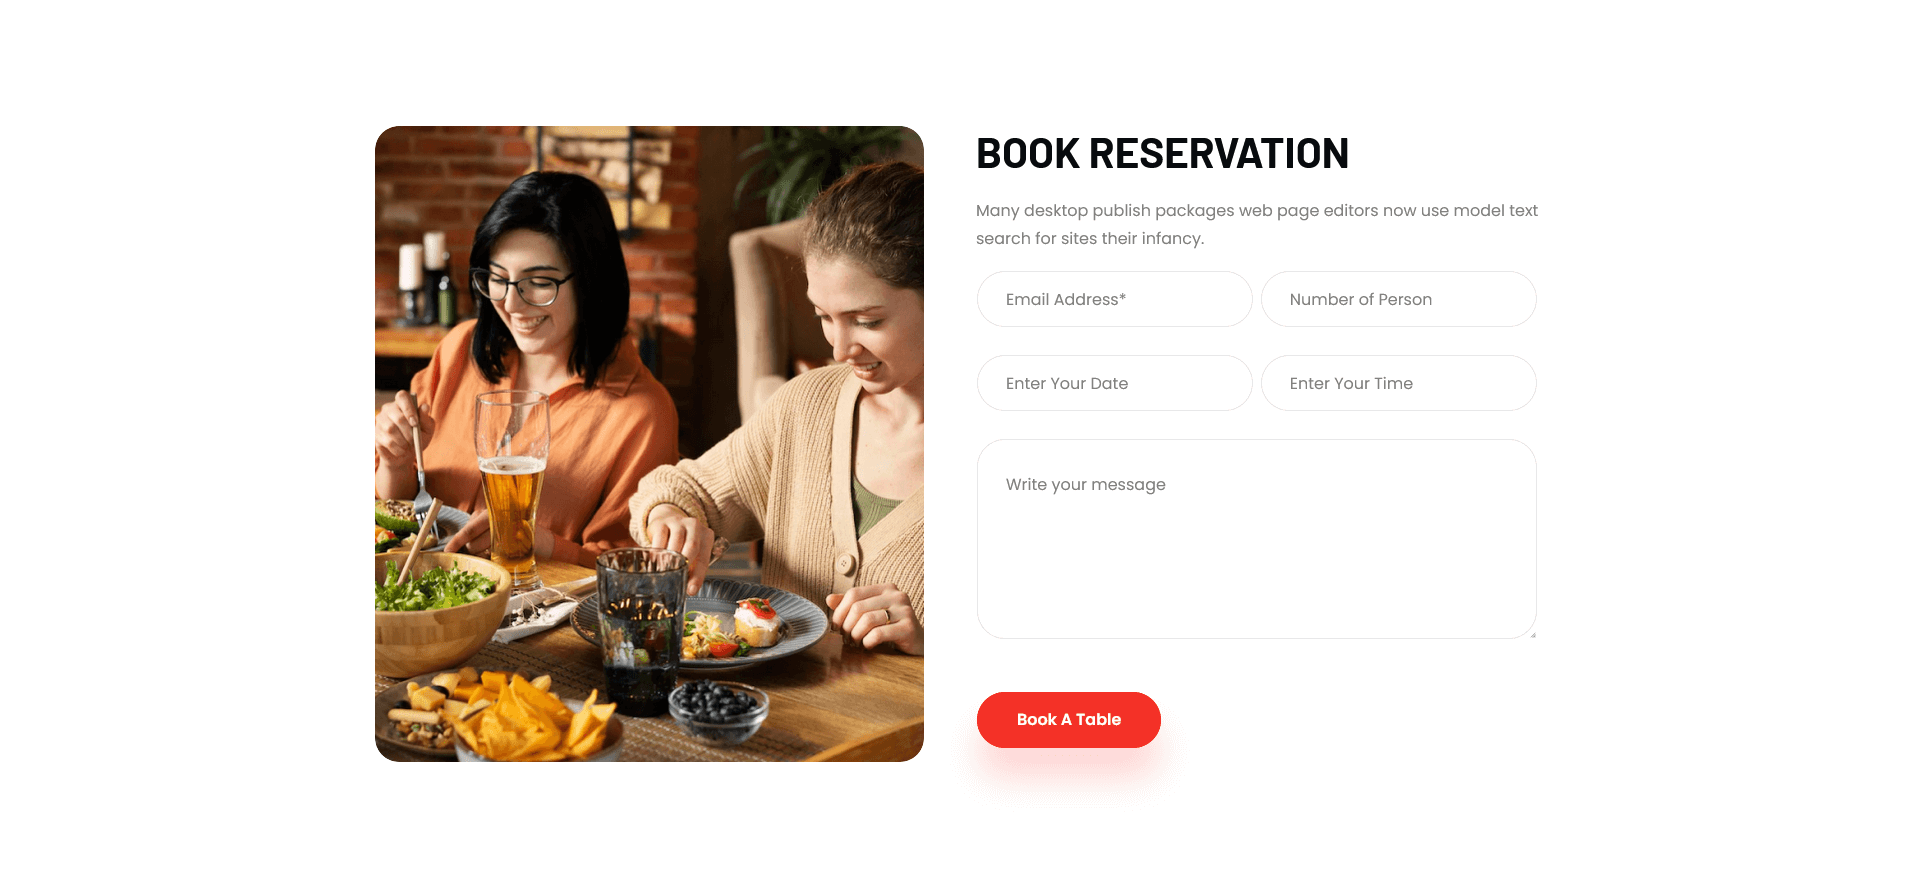
The Reservation section is separated into two columns. The left column has an image and the Right column has a section title and reservation form.
Pizzami has 27 ready-to-use modules.
One module for the entire header menu.
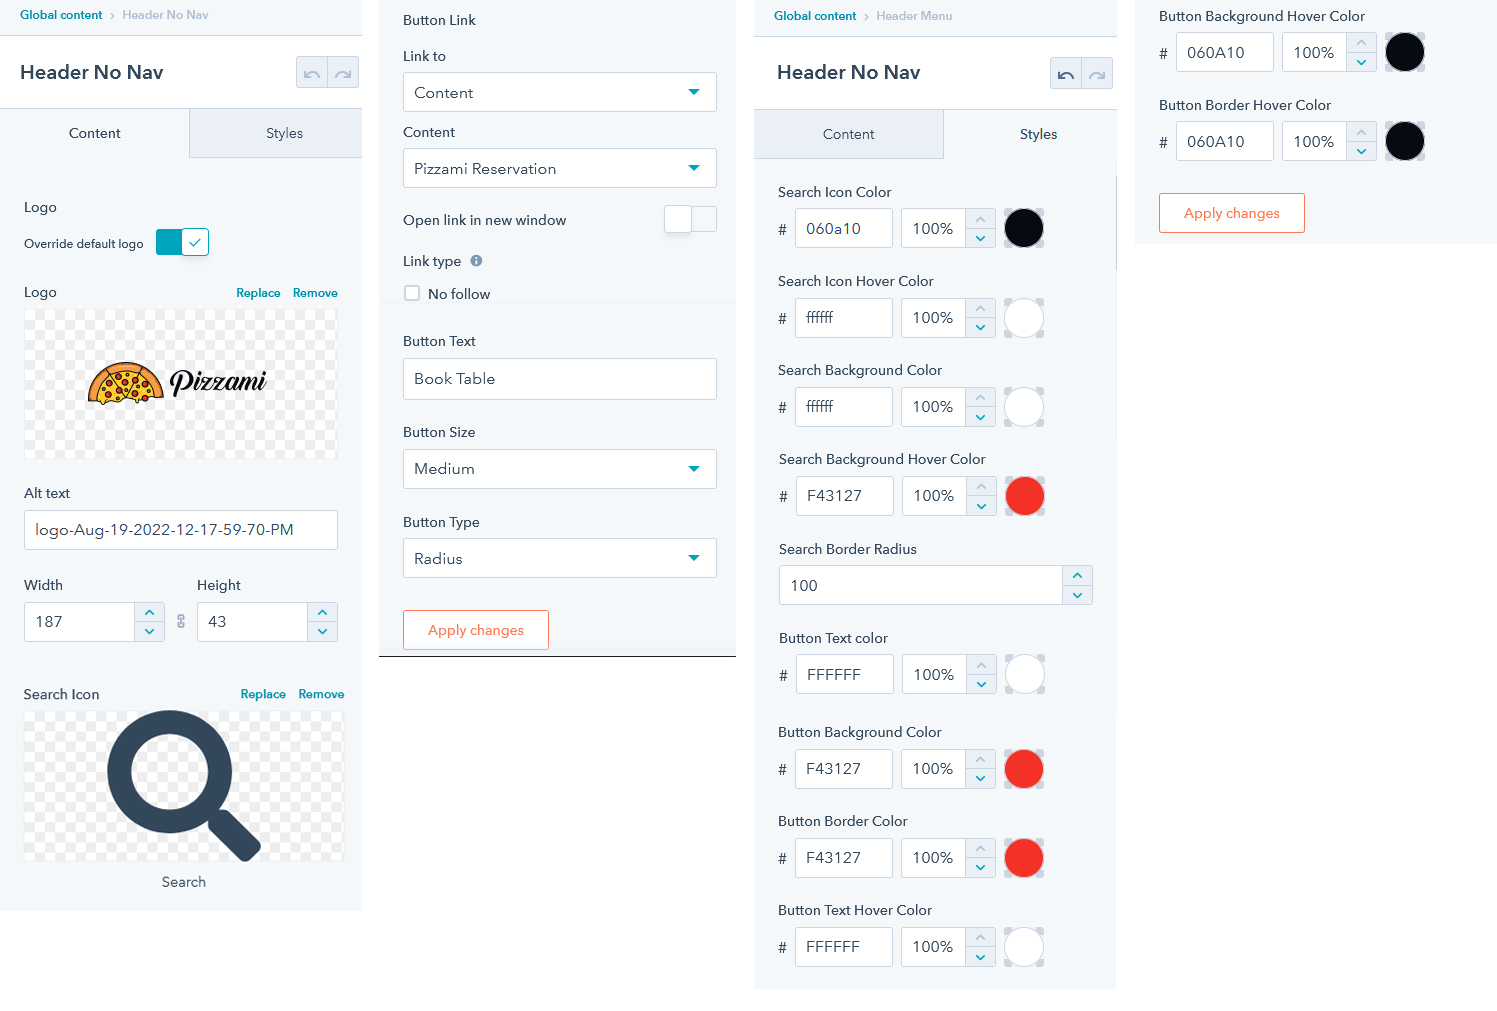
One module for the entire header no menu.
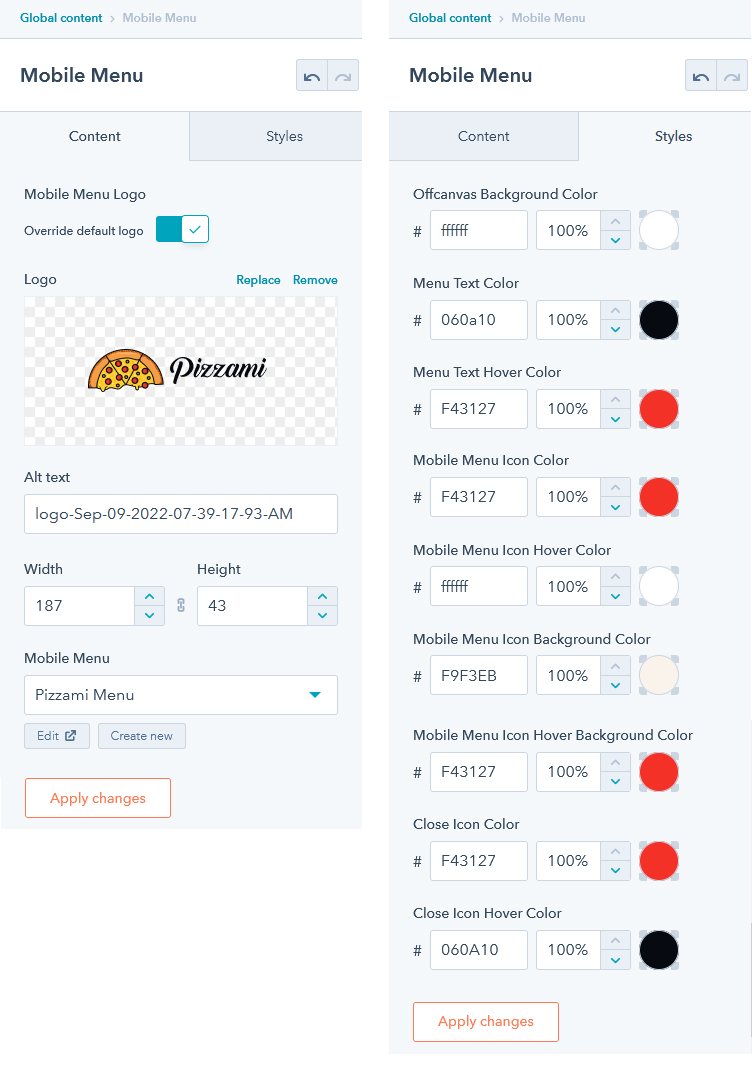
One module for the entire Mobile Menu.
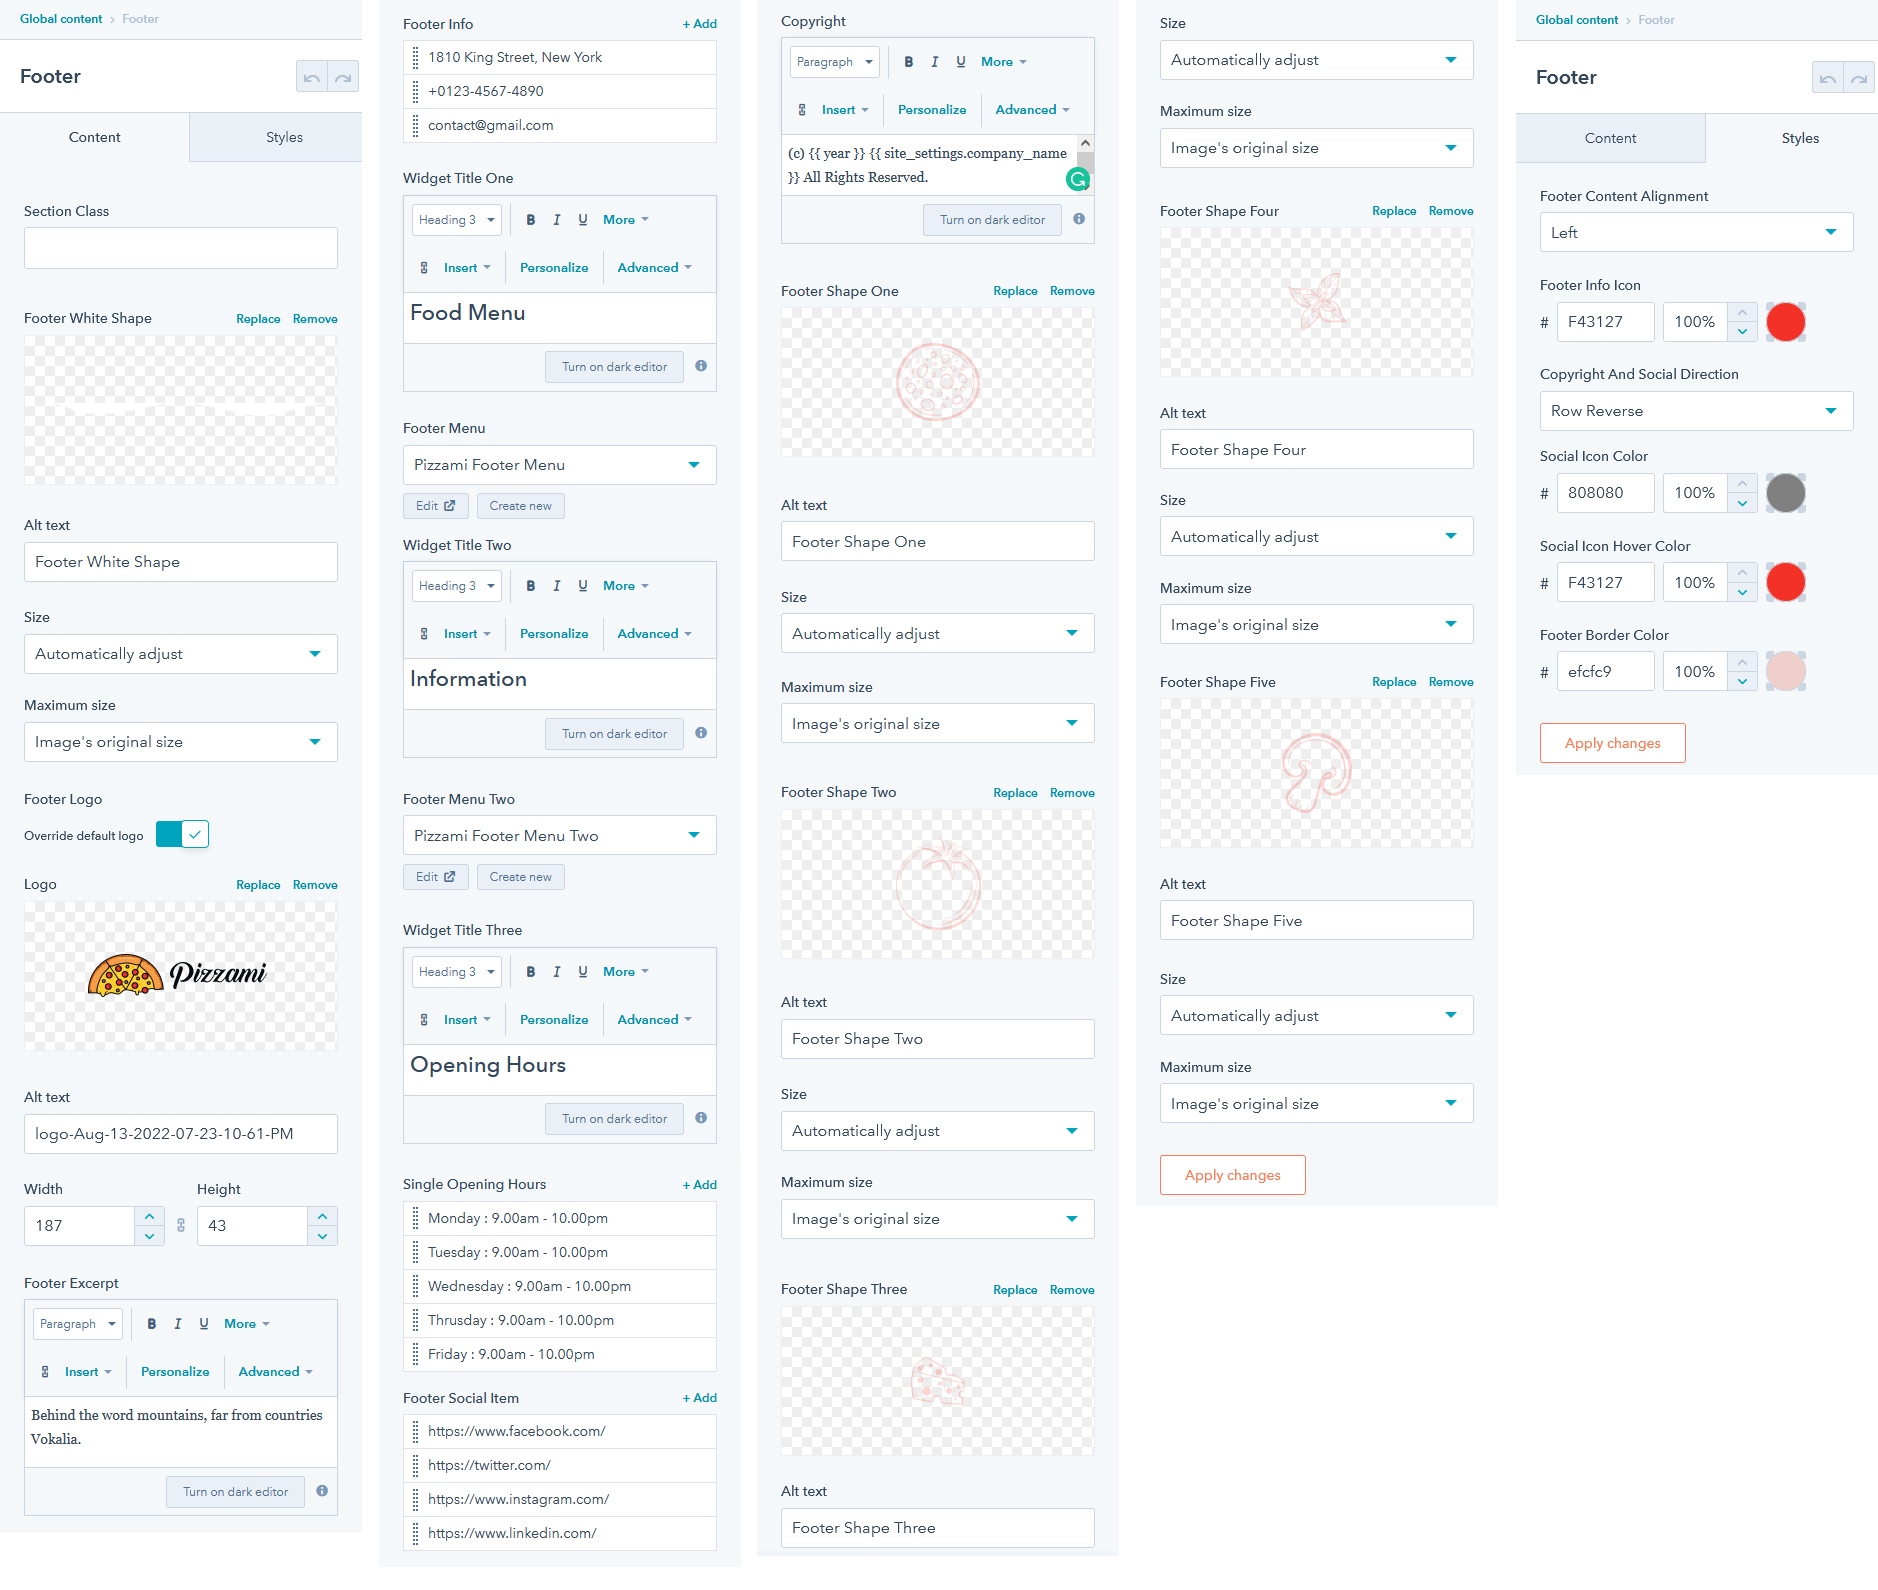
One module for the entire footer.
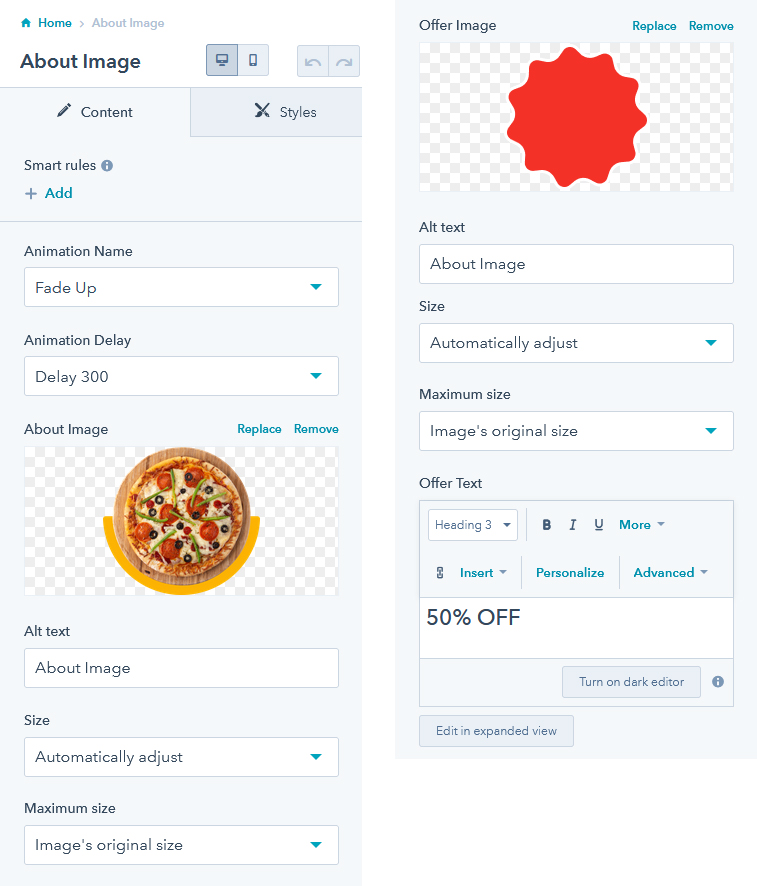
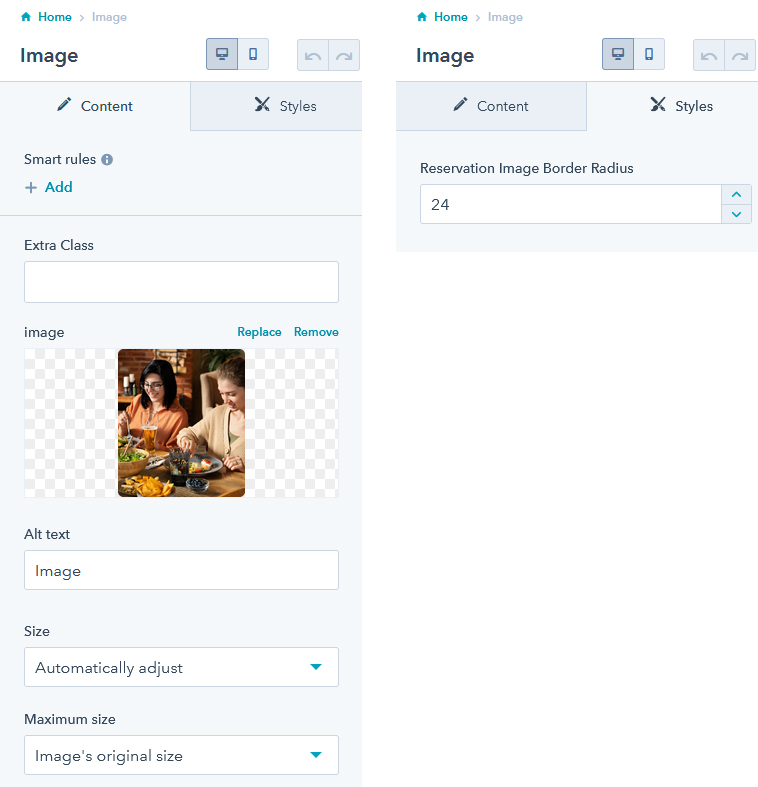
You can add an image in various layouts.
You can list your blog posts in various layouts.
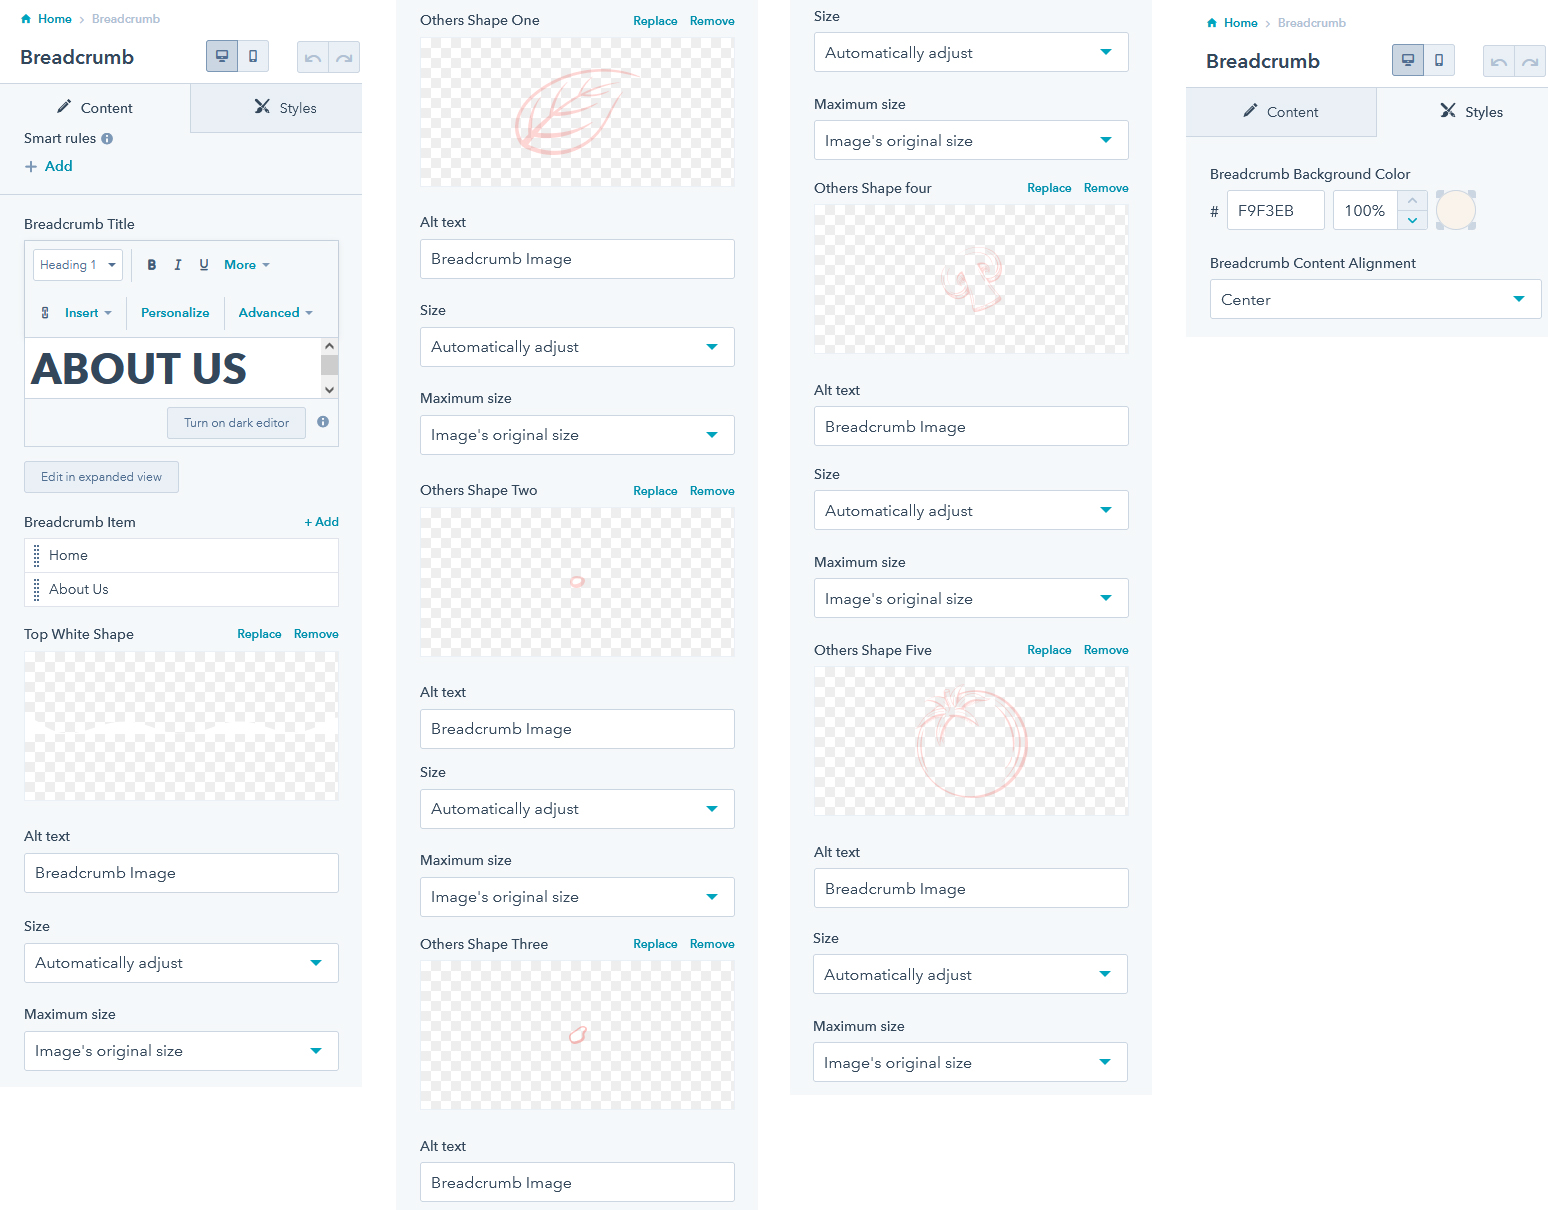
Add breadcrumb navigation to your page.
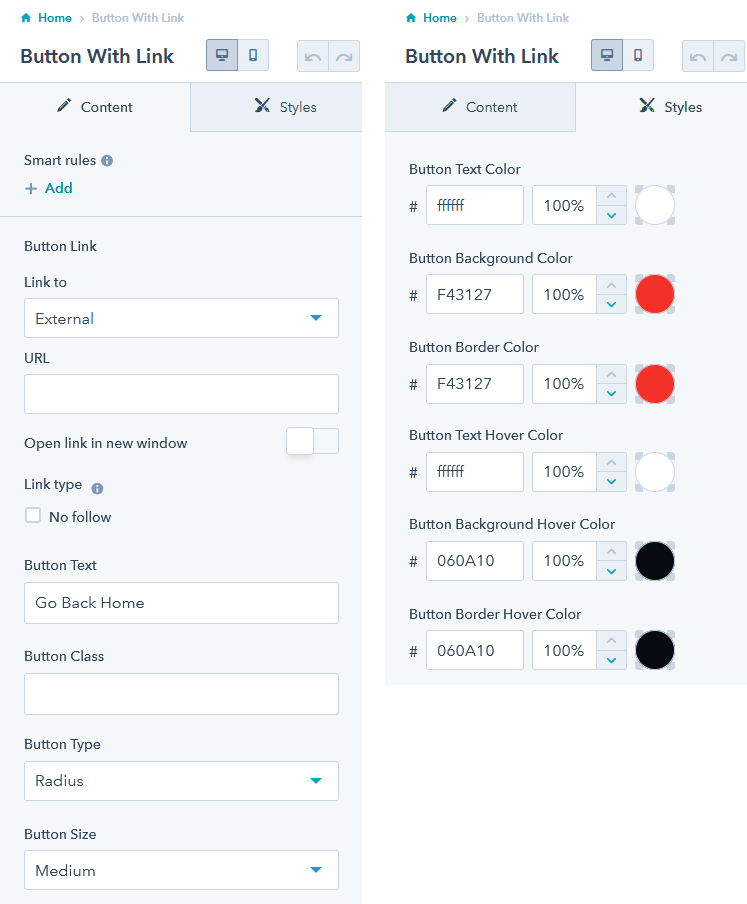
Add a button to your website.
You can use this module if you are planning to add a section to inform your visitors about your services, features, etc.
This module includes icons, images, and excerpts.
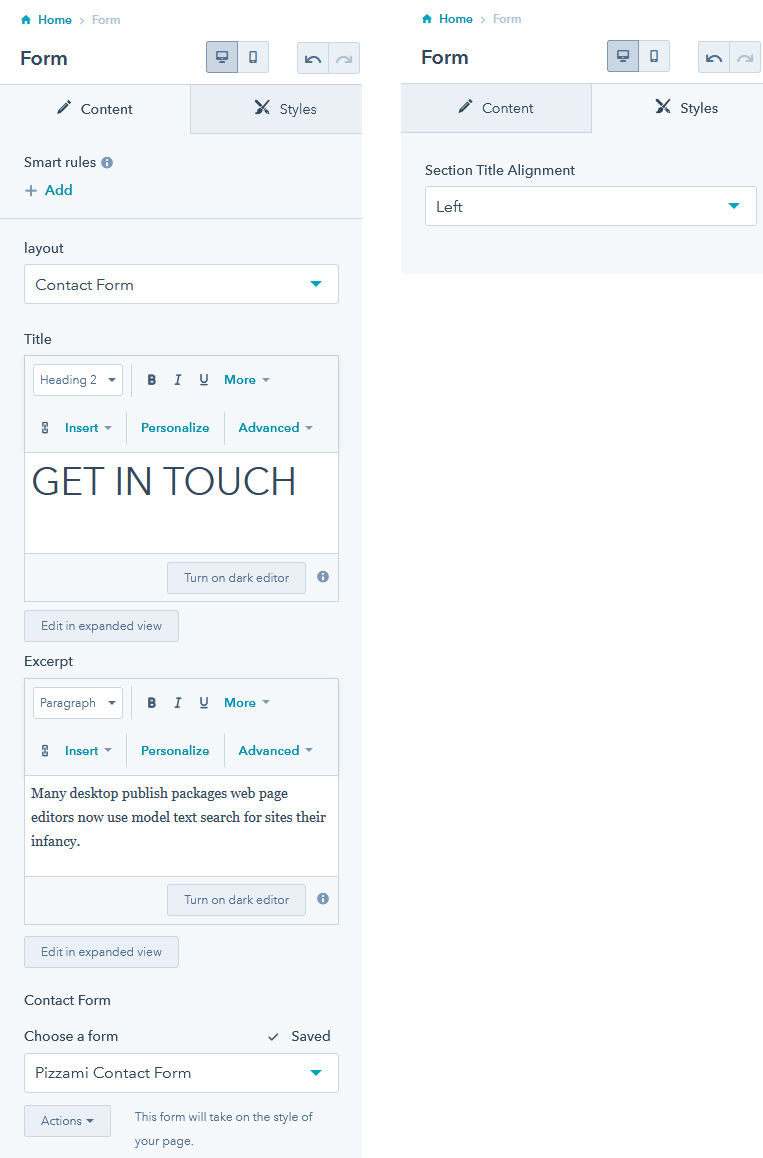
One module for the entire a form
This module includes icons, images, and titles.
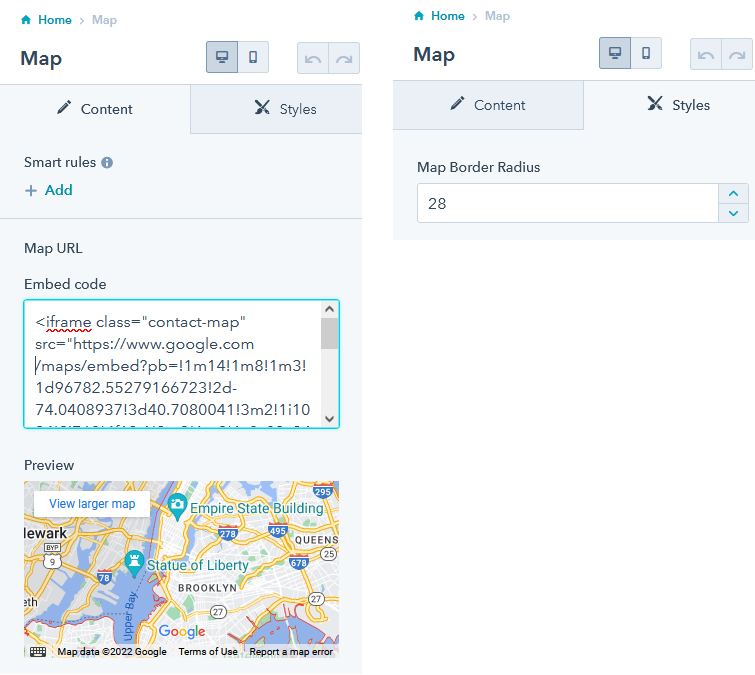
Add a Google Map to your website.
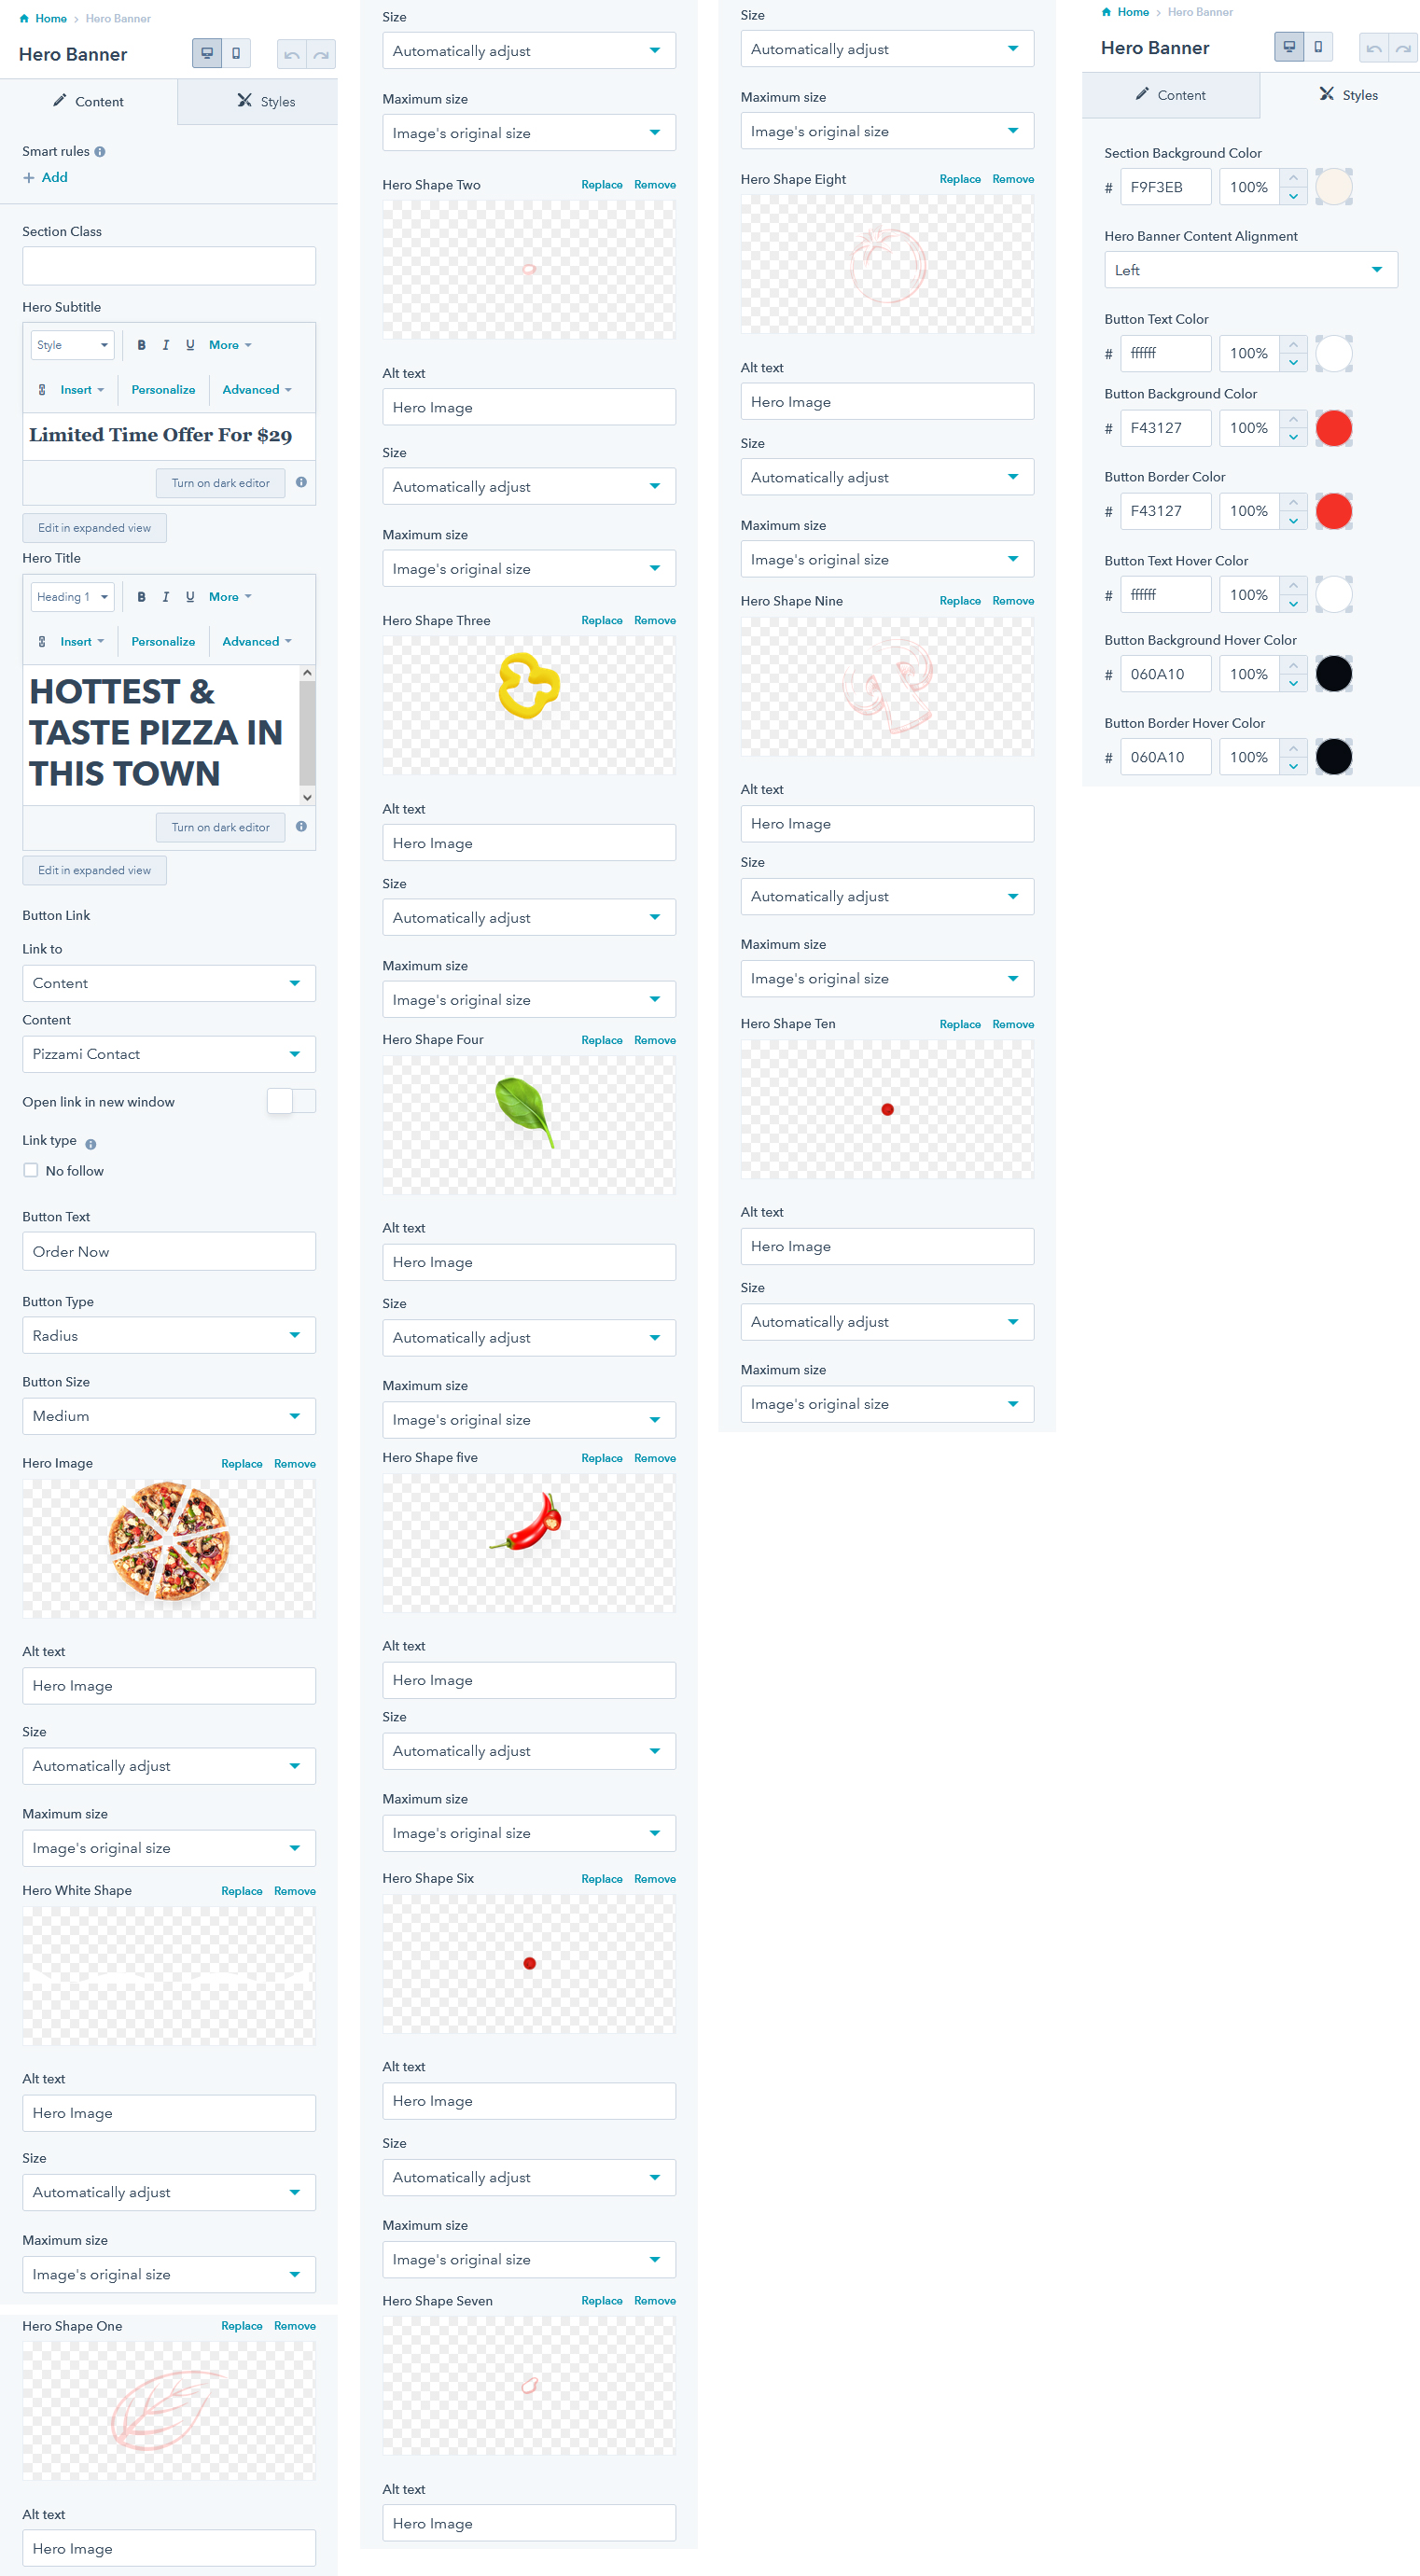
Full-width hero banner with background color and particle image
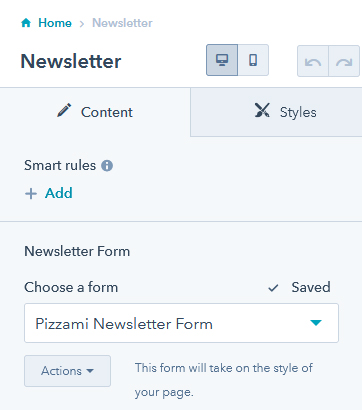
Add a Newsletter to your website.
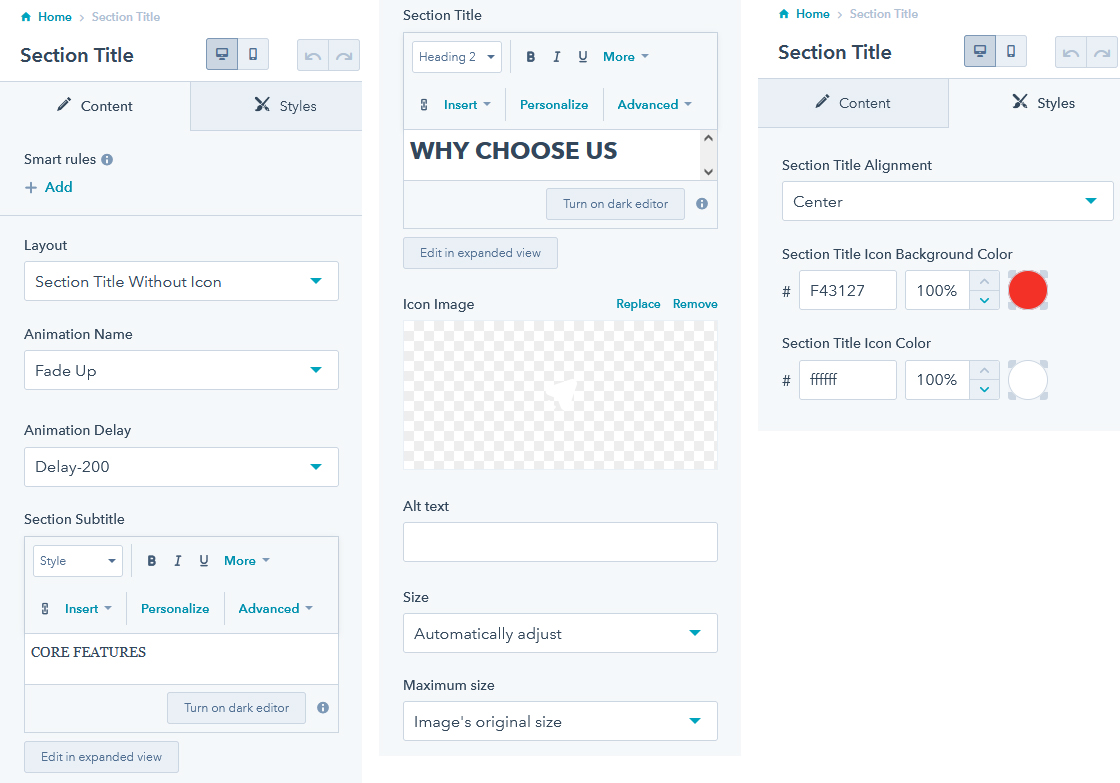
Add Section Title to your website. Every Section Title has a different content.
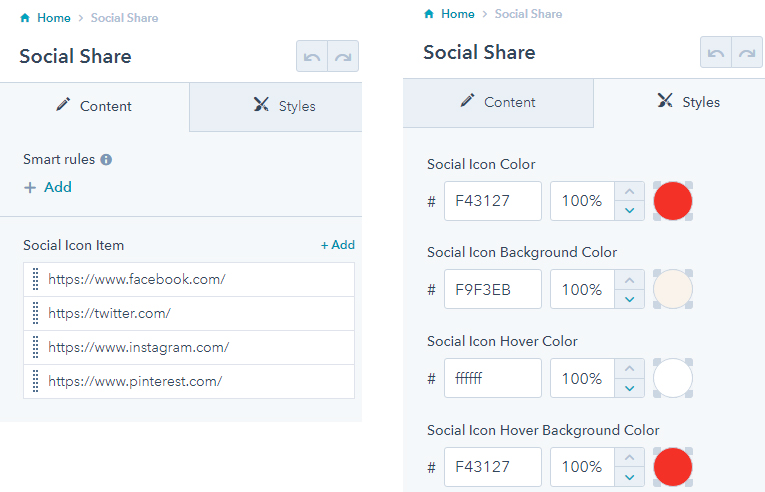
A Social Share module to add your popular social accounts to your website
This module has an image, social icon, name, and designation.
It's very important to let your visitors know about your current clients' thoughts in today's world. With this module, you can insert the reviews in a modern slider.

Add a Video Popup to your website.

You can easily add a product to your website by adding this module.This module has an Image, title, and price.
You can easily add a pricing menu to your website by adding this module.This module has a product filtering menu and product image, title, excerpt, and price.
You can add an image in various layouts.
You can add brand logo with slider.
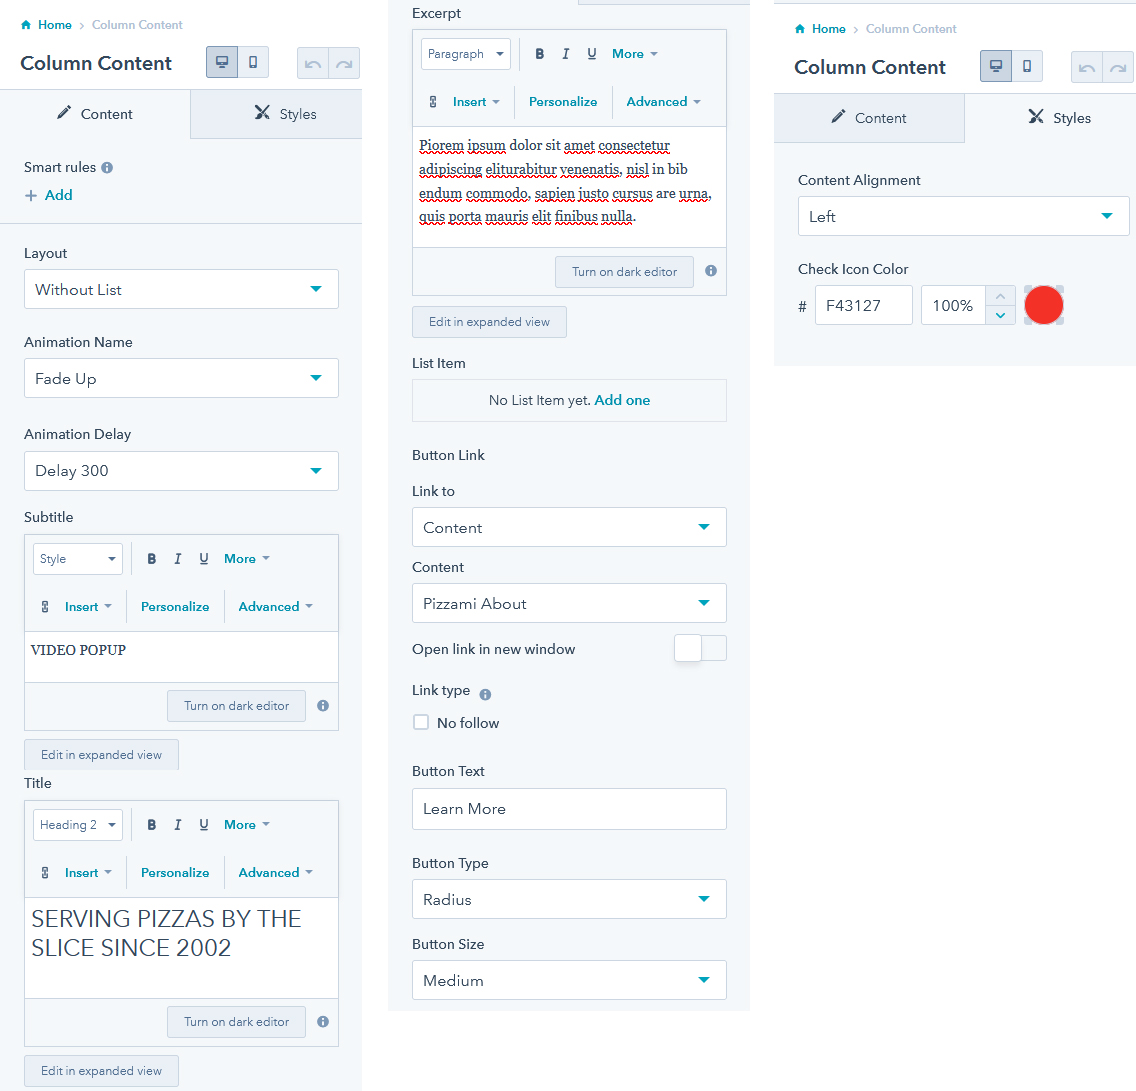
You can add content in various layouts.
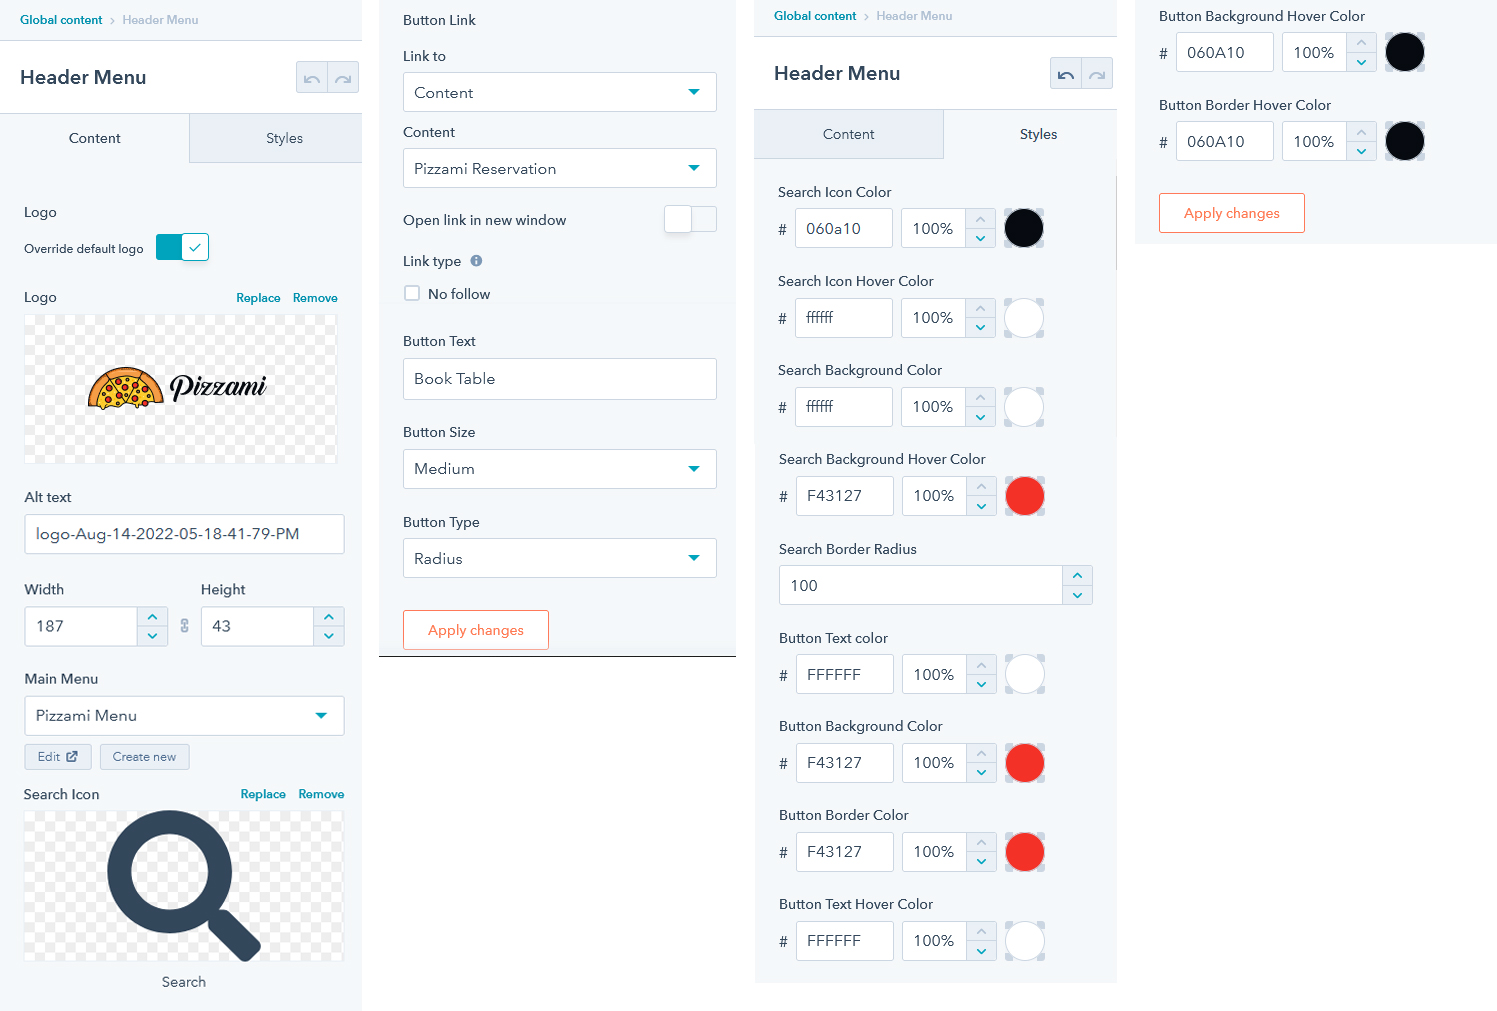
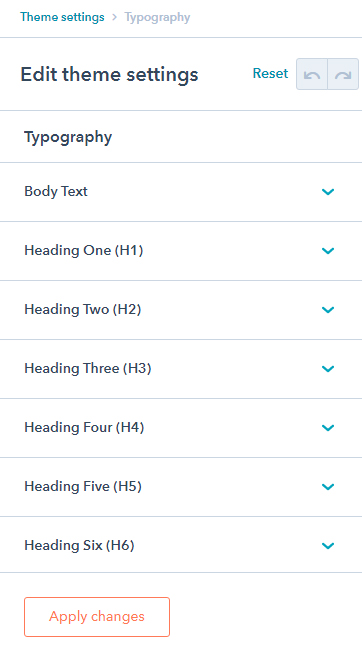
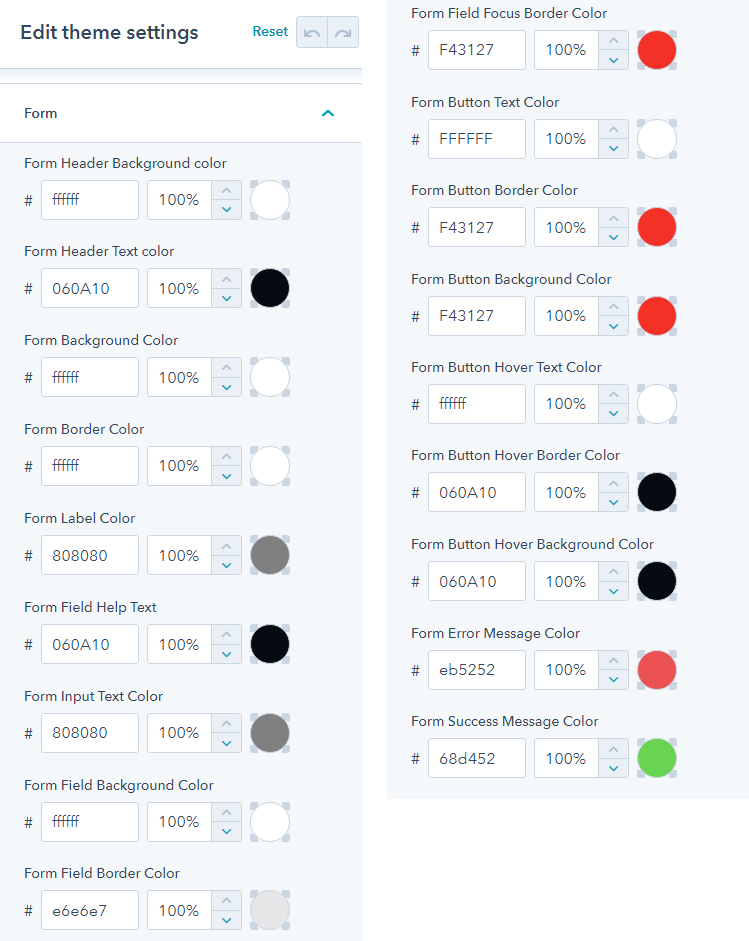
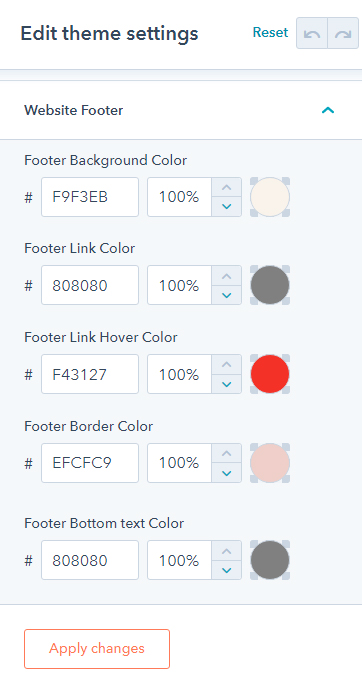
To edit your theme settings, you'll first need to create a page with a theme template. The theme settings can be accessed within the content editor by clicking the Theme tab on the left. Then click Edit theme settings.
The complete structure is as follows:

Keep in mind that you'll need to click the Publish to ... assets button at the top right corner of the screen only if you'd like to make changes on all pages that created with the theme.
Don't forget to click Apply Changes to let your changes take affect, when needed. You can visit HubSpot Knowledge Base for more information regarding your theme settings.
Visit HubSpot Knowledge BaseTo provide the best experience, MagicalMtas provides continuous support for all of our customers. If you’re facing any issue or if you’ve any query or a presale question please feel free to contact us via our support forum https://magicalmtas.freshdesk.com/. Our developer will help you all the way.